Using the New Personalization Feature
The automated personalization tool in Podzilla is a feature available to all users for free. It allows you to set up custom design templates for any Podzilla product and set personalized text fields so that when an order comes in, the tool will read the customer’s personalization note and automatically fill in the appropriate text fields.
-
Note: This is a new feature and you may run across bugs and glitches. If you do, please let Russ know in the Discord either in the Personalization channel or by sending a direct message to him @Russ Johnson
Setting up templates from the products page
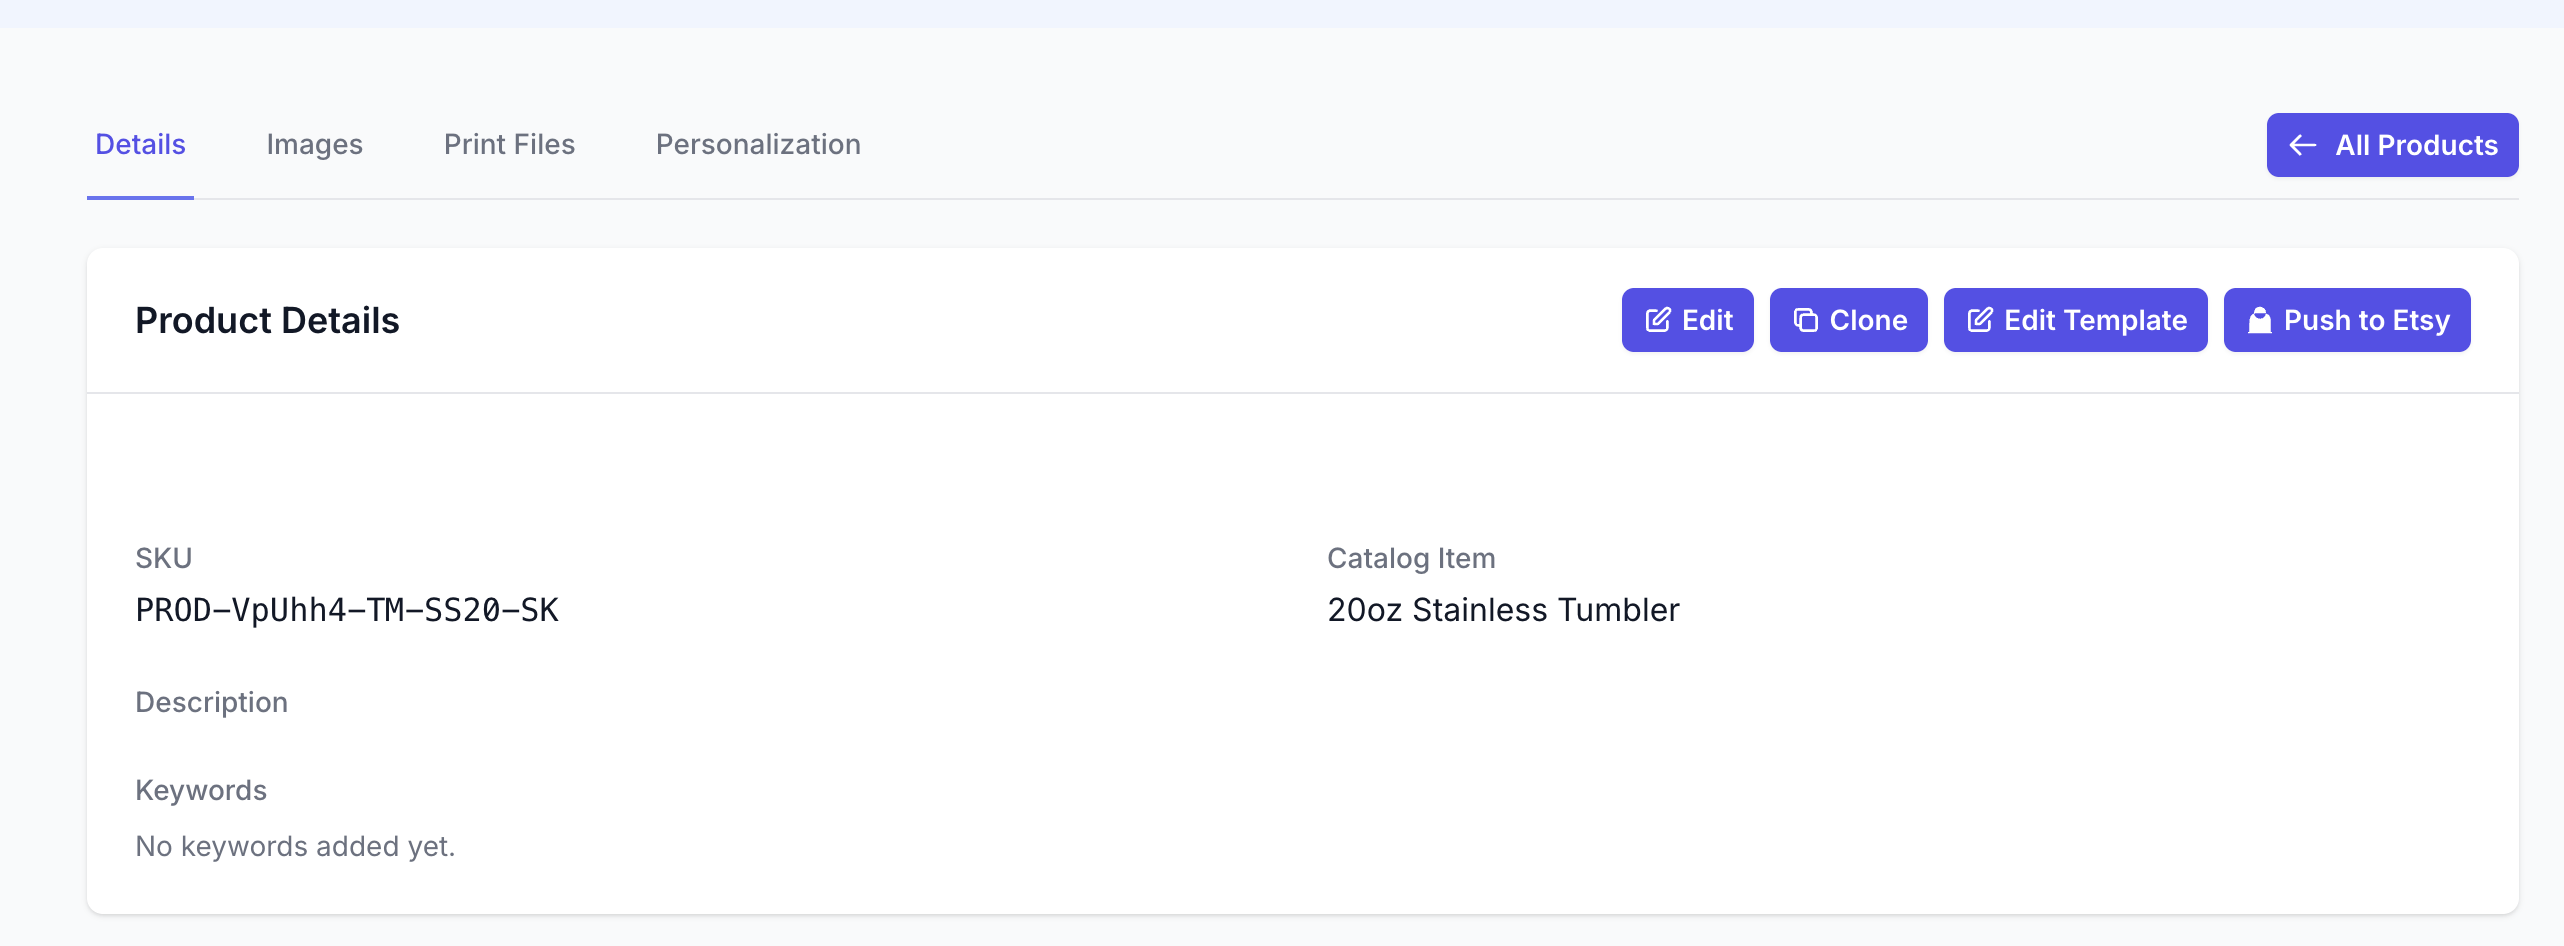
Set up templates for any of your existing products by going to the My Products section and clicking on the thumbnail image or the product title (do not click the pink Edit button.)
The new product page will look like this with options to edit the product, clone the product, and add a template.
-
There is also a button for Push to Etsy. As of 11/2025 that feature is not yet functional.
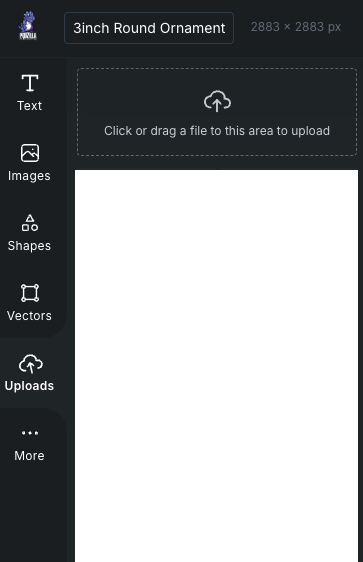
Clicking on the “+ Add Template” button will take you to the template editor. This editor works much like Canva for menus and formatting options. The design template of the product you are creating will be prefilled as the initial image layer.
Template Editor
-
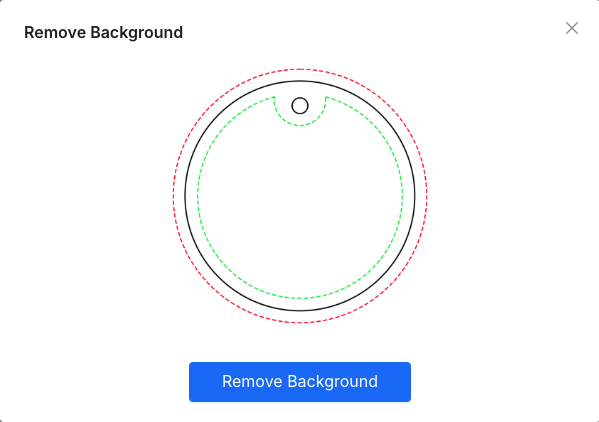
Pro tip: For certain templates where you want to be able to place the guide lines over your design and see elements behind the guide, select the guide layer over on the right and click the “Remove BG” button on the top menu bar. This does not work on all templates.

On the following pop up confirm that you want to remove the background
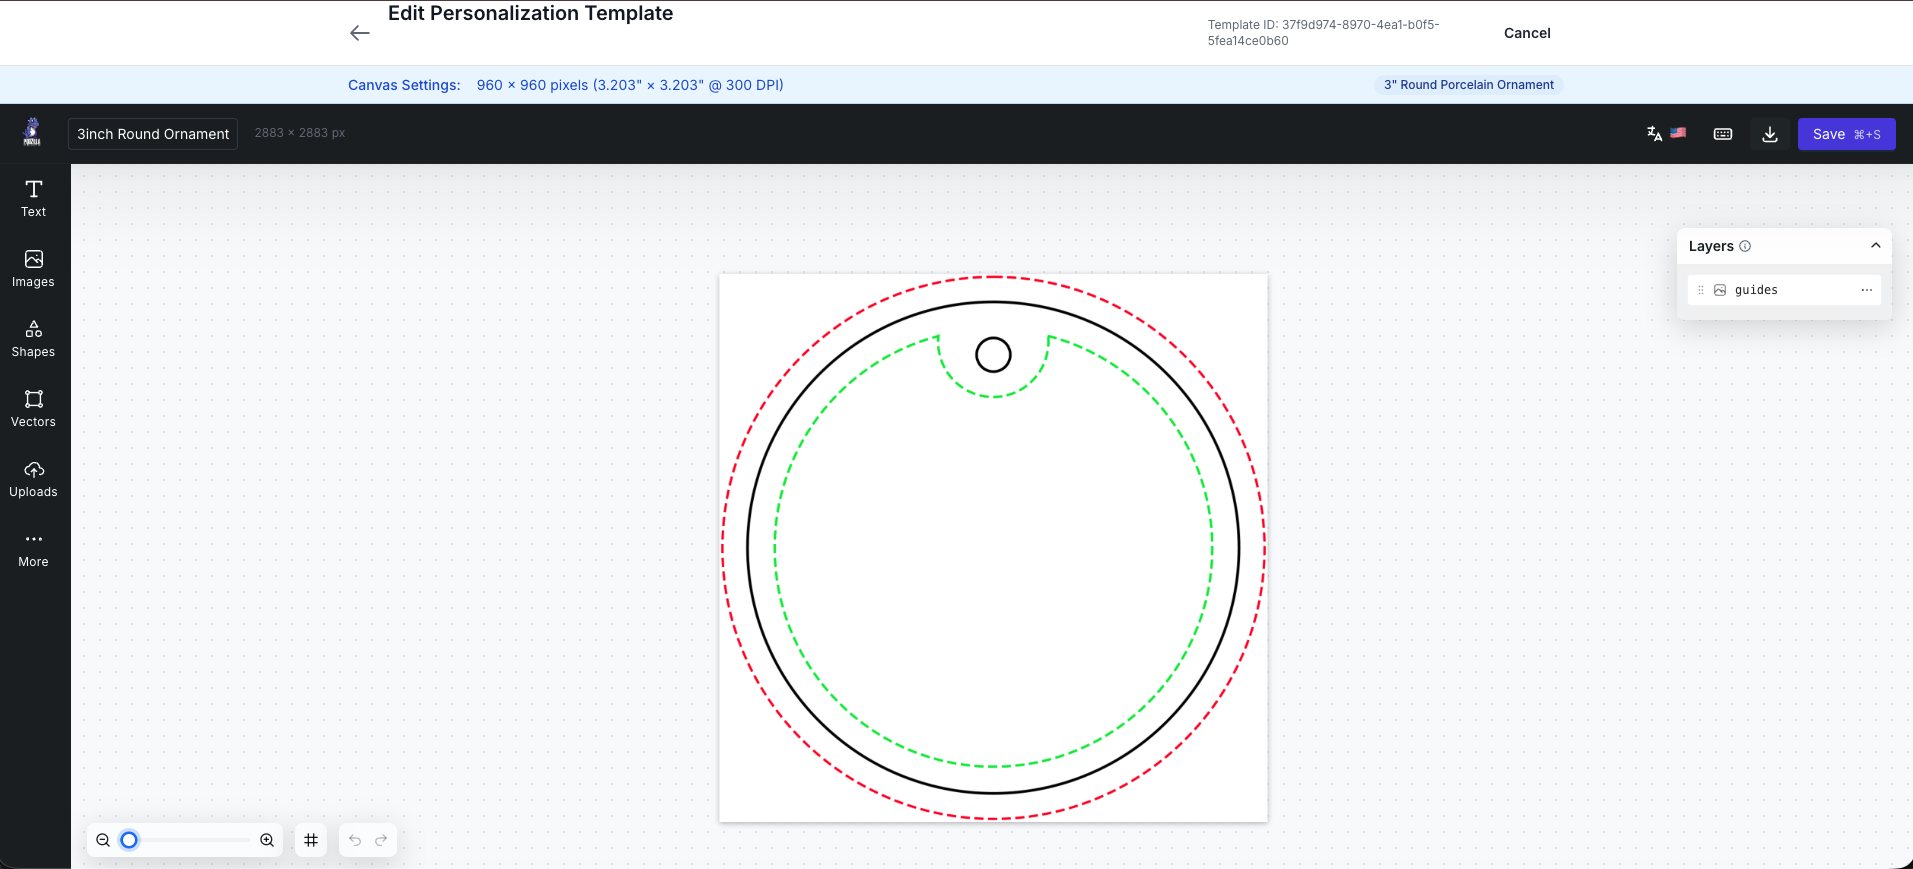
From here you are recreating your original design on this template.
Fonts
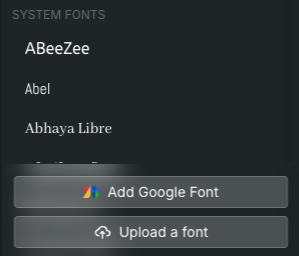
You can add your own fonts to this editor as well as use anything in the Google Font library (hint, Beth Ellen is in google fonts.)
To upload a font go to Text and select “Add a heading” to place a text box on your template. Then click on the font menu in the top menu bar. That will bring up your font library and at the bottom you will see options to upload your own font or add a Google font.
Pro tip: If you’re trying to find a Canva font, you can try finding it free to download by searching Google Fonts using the button above, doing a web search, or looking on Creative Fabrica. Then if no luck try taking a screenshot of something written in that font and go to the website https://www.myfonts.com/pages/whatthefont/ and uploading your screenshot to try and identify a similar font that is available to you for free in the places listed above.
Text Boxes and Formatting
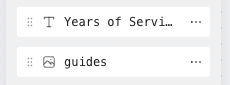
Now that you have the fonts you need ready to go you will need to format your text boxes and name them in the Layers panel.
You decide how tall and wide the text box should be in order to still fit within your design and template space. For things that will have varying lengths like names there is an Autofit feature that will fill the text box based on the height or width of the text box you set up.
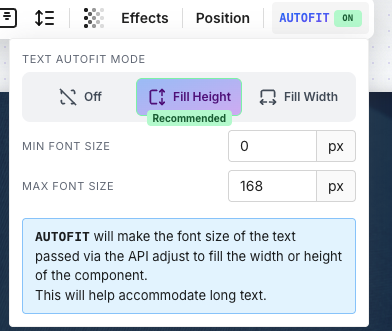
Getting this set up correctly is a bit of trial and error. You will need to play around with this feature to learn the best way to set up the size of the text boxes so that the personalization renders the size you want it to be.
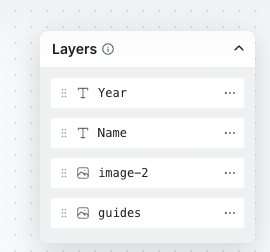
Now that the text boxes are set up in your design you will need to name the layers so that the personalization tool will know what type of personalization goes in each text box. The more specific you can be with the name the better results you will get when you try to render new graphics.
While names and dates are probably the most common types of personalization this tool is able to recognize custom data types as well. This makes naming your layers even more important. While not guaranteed to always work perfectly, custom data like occupations, school or company names, number of years married, etc. can all be things to try in your designs and see if the personalization tool can recognize them.
Text Effects
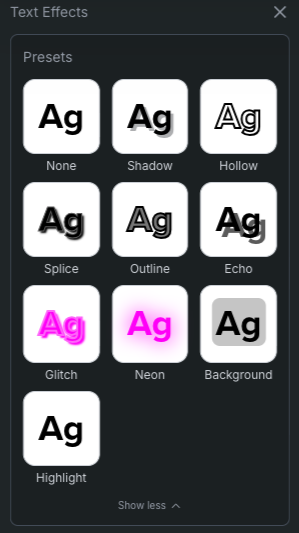
You are able to add text effects in a similar way as in Canva. With your text box selected click the Effects button in the top menu. This will bring up a sidebar on the left with various options. If you click the “Show More” under the top Presets section you will find most of the options Canva offers.
Adding a Stroke Outline
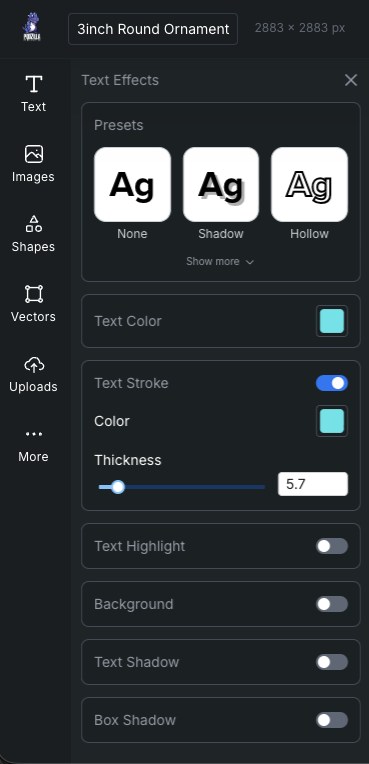
To add a stroke outline make sure your text box is selected and in the Effects menu toggle on “Text Stroke” and select the color you want for your outline and adjust the slider to the desired font thickness.
Additional Options
There are also options if you scroll down for Text Curve and Image Mask. Those are marked experimental but feel free to try them. The curve works slightly differently than Canva and does not make completely circular text.

Uploads
The uploads section over on the left sidebar works in a similar way to Canva. Any graphics you want to bring in to add to your design will go in your uploads folder. This can be the background images from your original design or individual graphics you want to add.
Pro Tip: If your design has several layered graphics that are always in the same place or text fields that do not change (think “Baby’s First Christmas” or “Engaged”) download your design from your design tool (Canva, Kittl…) removing only the personalized text. Upload the design into your template and add the personalized text fields.
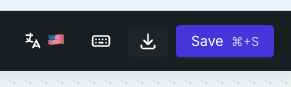
Saving your design
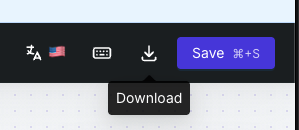
After you have created your design on the template be sure to save your changes using the Save button at the top right of the page.
-
DON’T FORGET to turn the transparency of your guide layer to 0 before saving!!
Now you can use the back button to return to the product page for the next step.
Setting up your template personalization layers
On the product page, scroll down to the bottom where the Template Layers Configuration section is. This is where you will assign data types to your personalization text boxes.
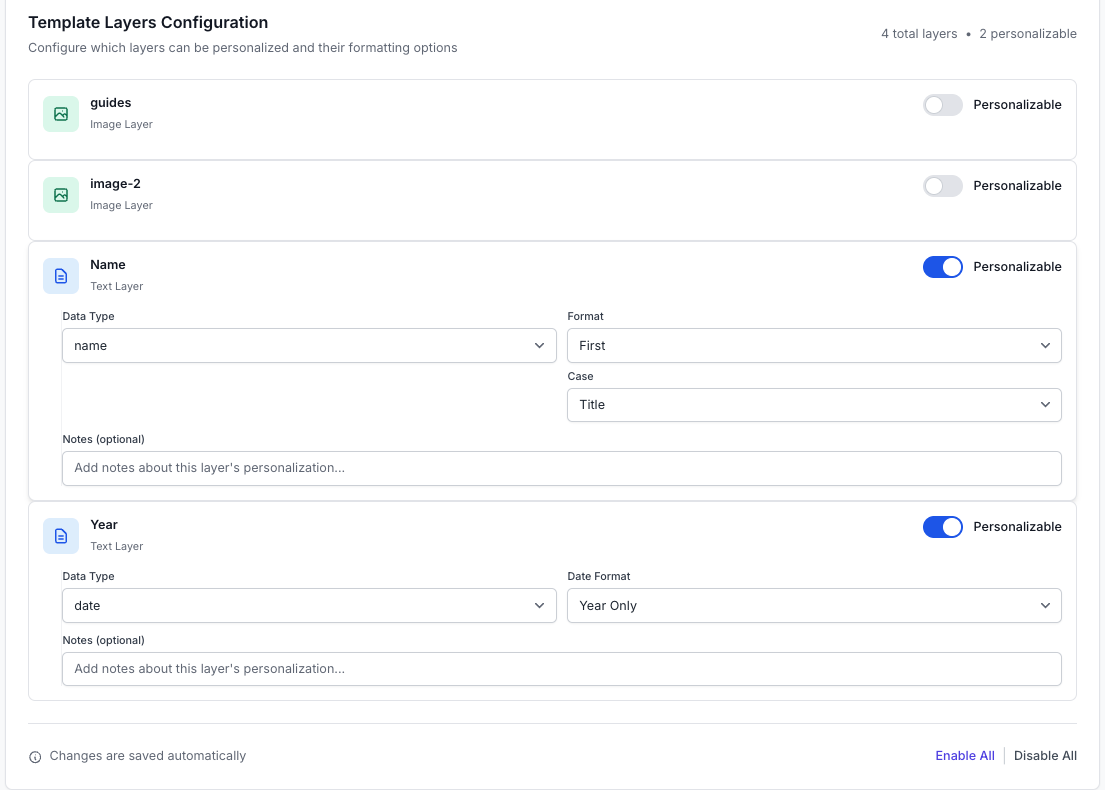
Toggle on any personalized text fields. Set the data type by clicking the drop down menu and selecting what type of personalization it is. Certain fields like Name and Date have additional formatting options to choose from on the right as well.
While not guaranteed to always work perfectly, custom data like occupations, school or company names, number of years married, etc. can all be things to try in your designs and see if the personalization tool can recognize them.
If you want to try out the custom_text data type from the data type drop-down menu, select that option here. For this data type the name of the layer on the template being as specific as possible will be crucial to getting the personalization tool to recognize what the personalization should be based on the buyer’s note.

Order Cards
The Order Cards on your My Orders page have a personalization section added. For non personalized items that section will look like this.

You don’t need to do anything here if the item is not personalized.
For a personalized order the tool will read the buyer’s personalization note and that area will look like this.

You have the option to create a template for that product by clicking the “Configure Template” button on the right.
You can also make changes to the personalization if needed in the “Update Personalization” text box before rendering or re-rendering an image. Click the Save button below the box to save your changes or the text will revert back to the original entry when rendering/re-rendering the graphic.
-
Speaking of rendering, that just means the tool will read the information (technically that’s called parsing the data) and then fill in what it can and give you an image based on the information given.

Once you have a template set up for the product and you want to create an image, click the bright pink Render button. It may take a few seconds while it processes the image. If nothing appears after about 30 seconds in the print file box, reload the page.
Now you have an image. If something doesn’t look correct you can make changes to the image by clicking the Edit Render button. This will take you back to the template editor to make the necessary changes and save it. Once it’s saved go back to the orders page and click the Re-render button to let it generate a new image based on your changes. You may have to repeat this process a few times to get everything just right.
-
Tip: If you keep having trouble with rendering an acceptable image you can click the Edit Render button, make any changes, then download that image from the template editor. That will give you the print file image you need and you can replace the incorrect image image in the print file section with the one you downloaded.
Play around with this new feature knowing that you will ALWAYS have the option to upload a print file to your order the same way you always have. If it’s not getting you the results you want please don’t stress. This is supposed to make fulfilling orders quicker and easier but there is a learning curve so if it’s taking up too much of your time you can always come back and try again later.
Related
More Articles
Apparel Deep Dive: Catalog, Templates, Products & Orders
This guide walks through everything you need to know about working with apparel in Podzilla — from browsing the catalog and using the print template, to setting up products, syncing SKUs, and approving orders. It's based on Valerie's comprehensive video tutorial above, which demonstrates each step on screen.
Getting Started
Welcome to Podzilla! The Podzilla website lets you manage products and orders associated with your shop(s). Let’s get you started.
How to Use the Candle Design Template
TRANSCRIPTThis article explains how to use Podzilla’s candle design templates, including layout...
Saving Sales with Canva Photo Cards
This customer service option has saved many of my sales! It only takes a few minutes, and is well worth it. I've included the instructional video and my script. Be sure you modify it for your brand and voice.
How to Use the 20oz & 40oz Tumblers Design Templates
TRANSCRIPTThis article explains how to use Podzilla’s Canva and Photoshop design templates for ...