Using a Product and Listing Builder Template to Create an Etsy Listing
- 'Master' product set up in your My Products library.
- Listing Builder template set up in your Listing Builder library.
Create Your Product
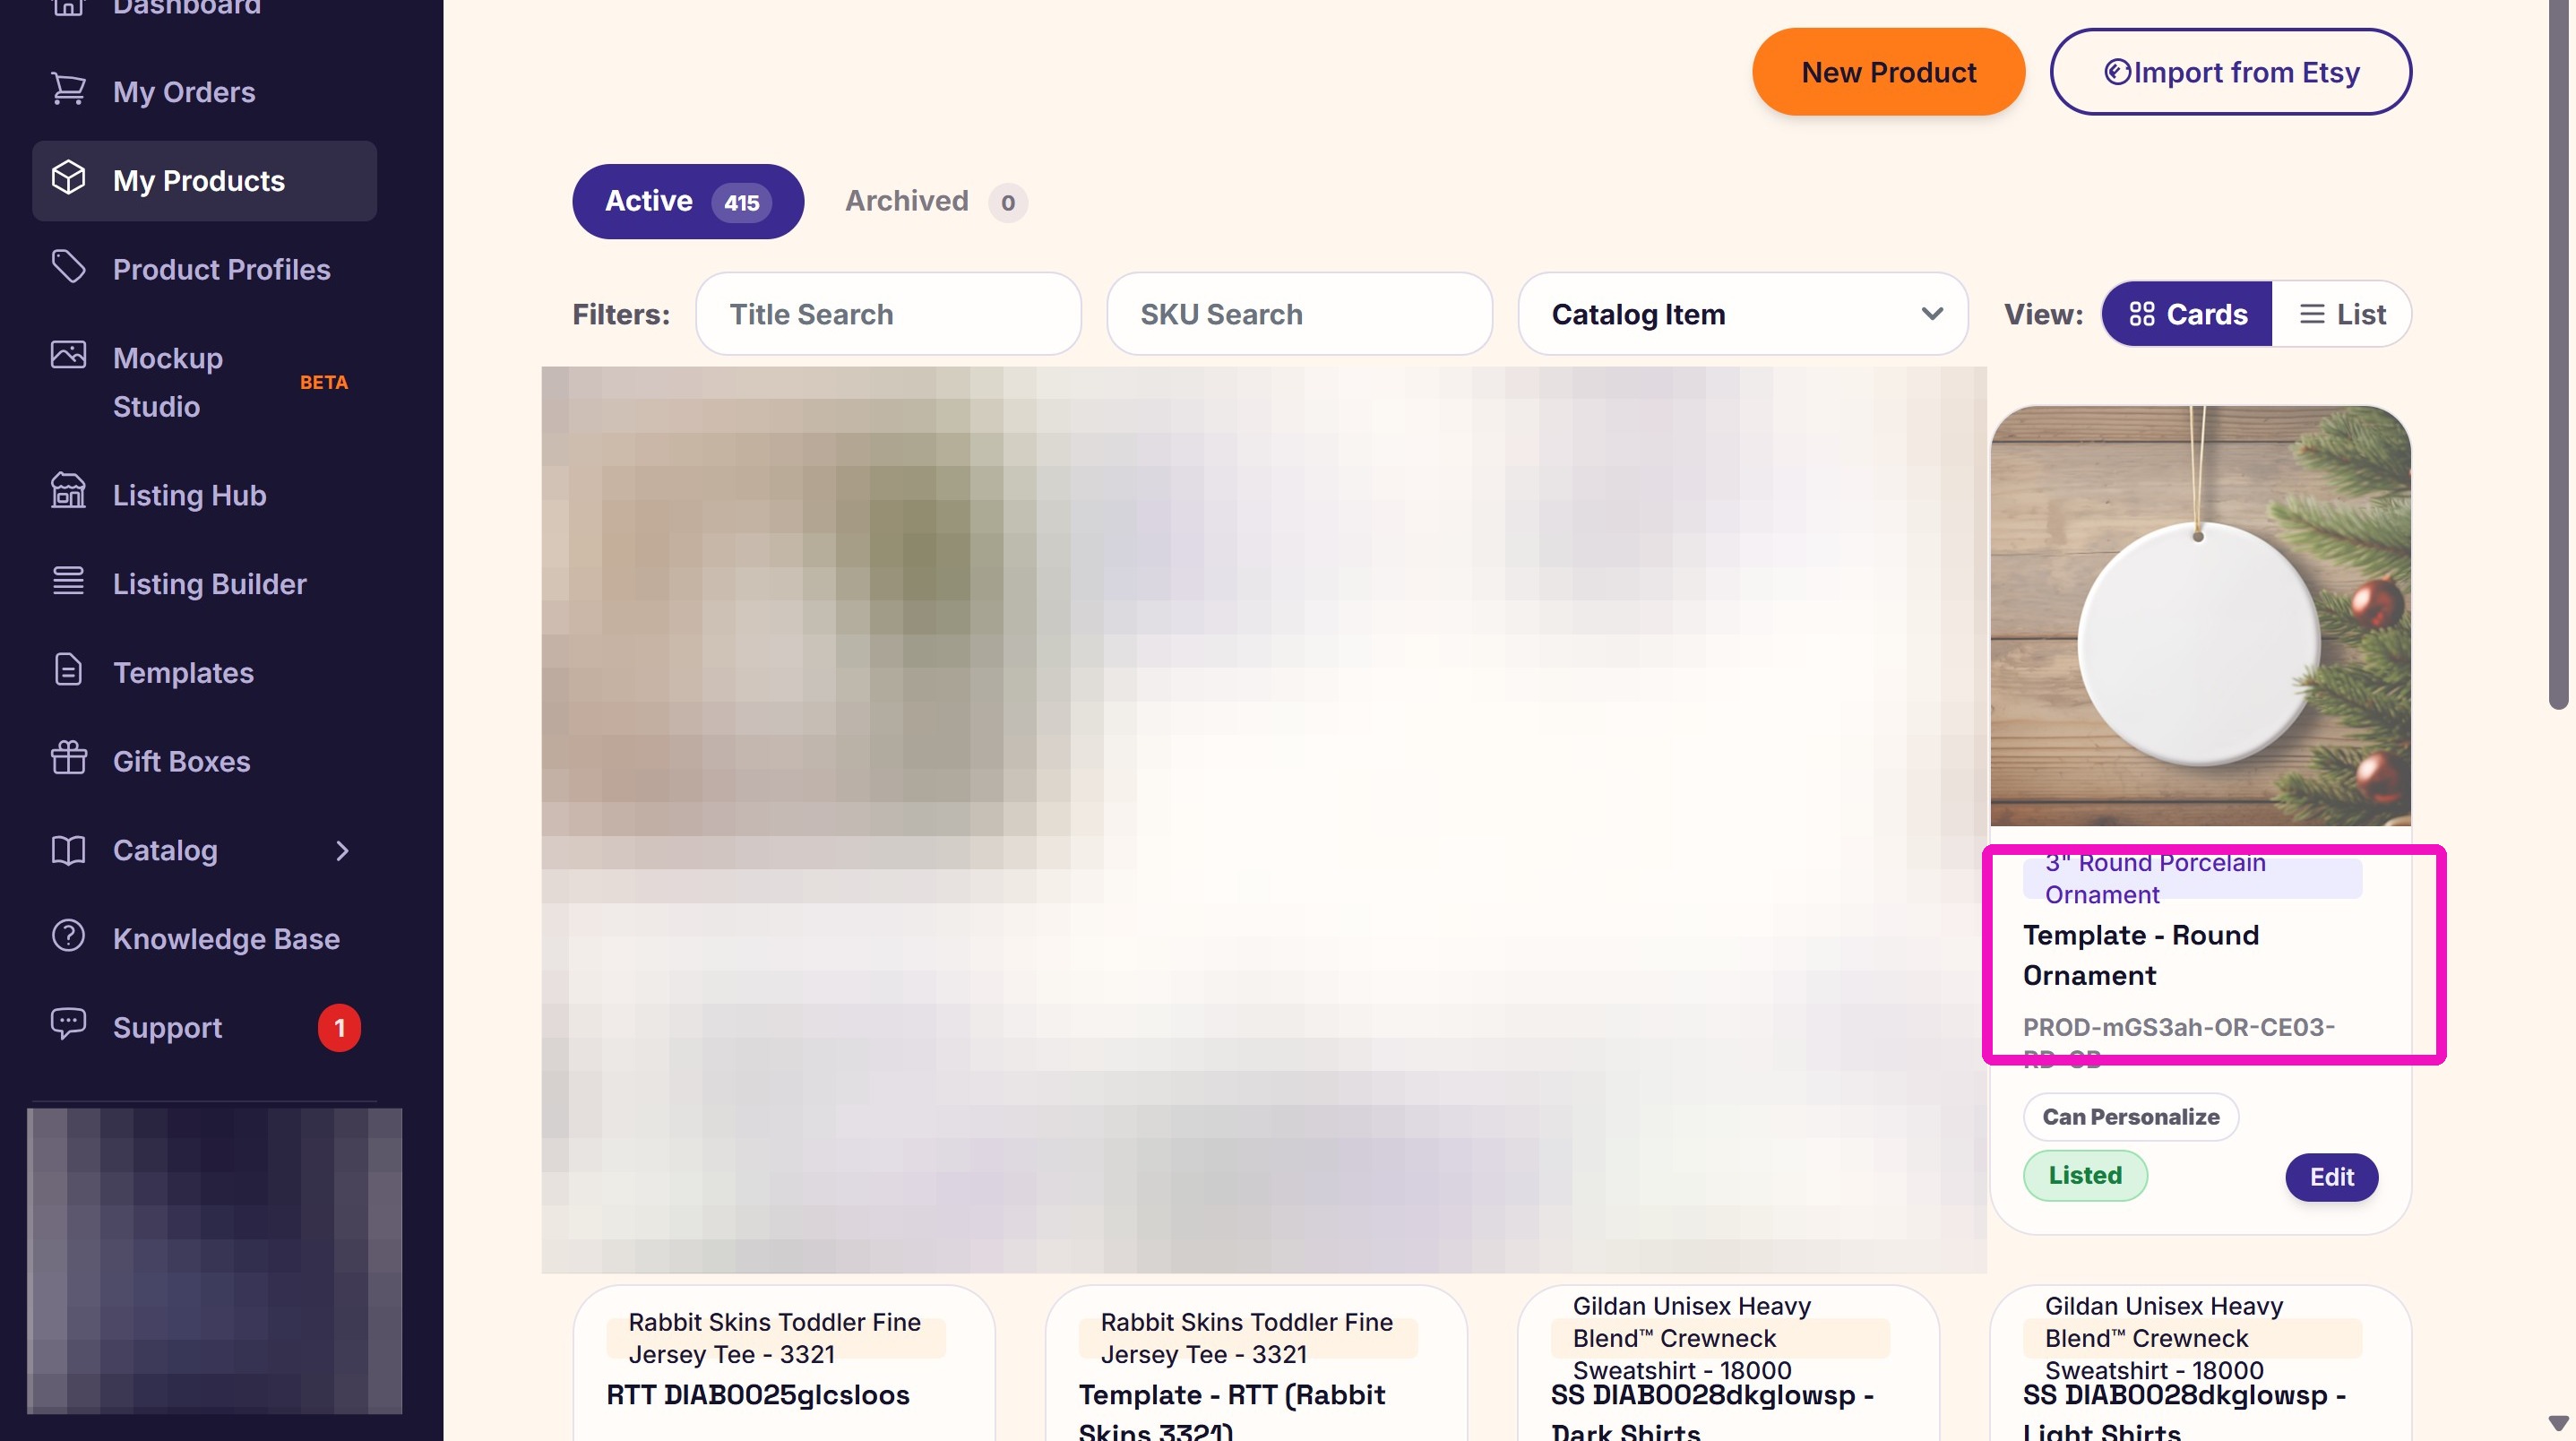
2. Click the product you use as your master or template.
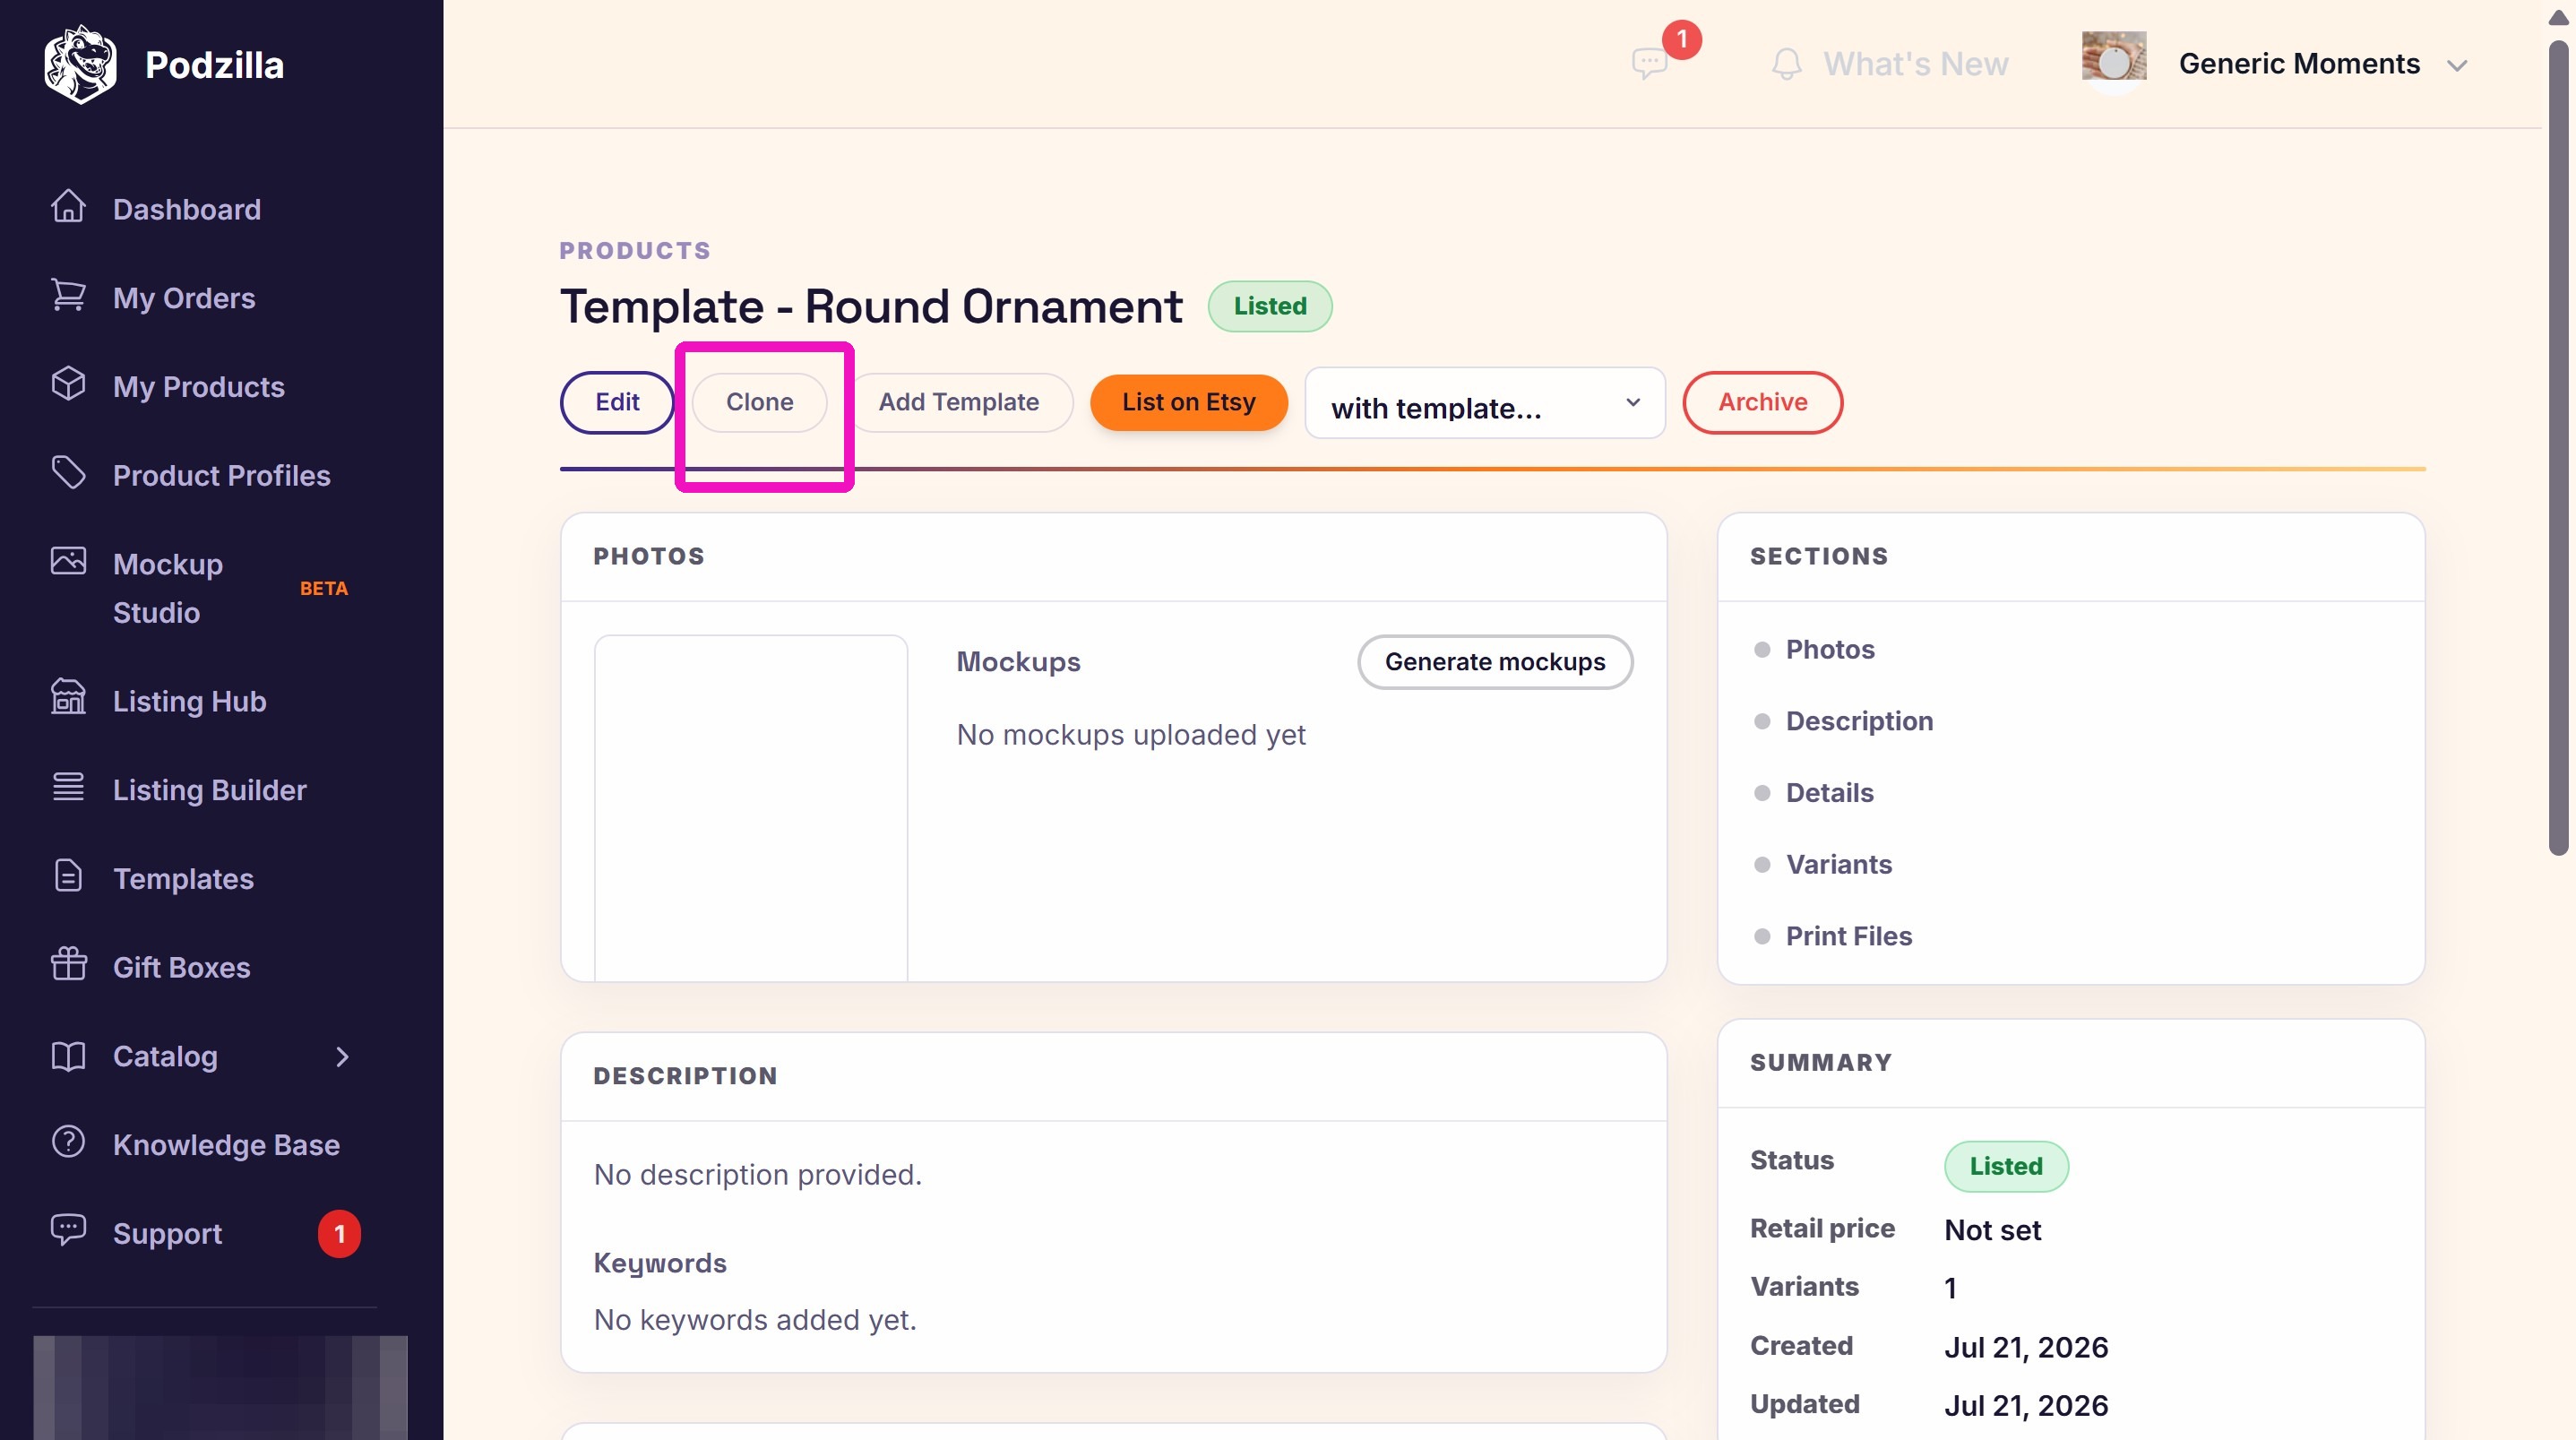
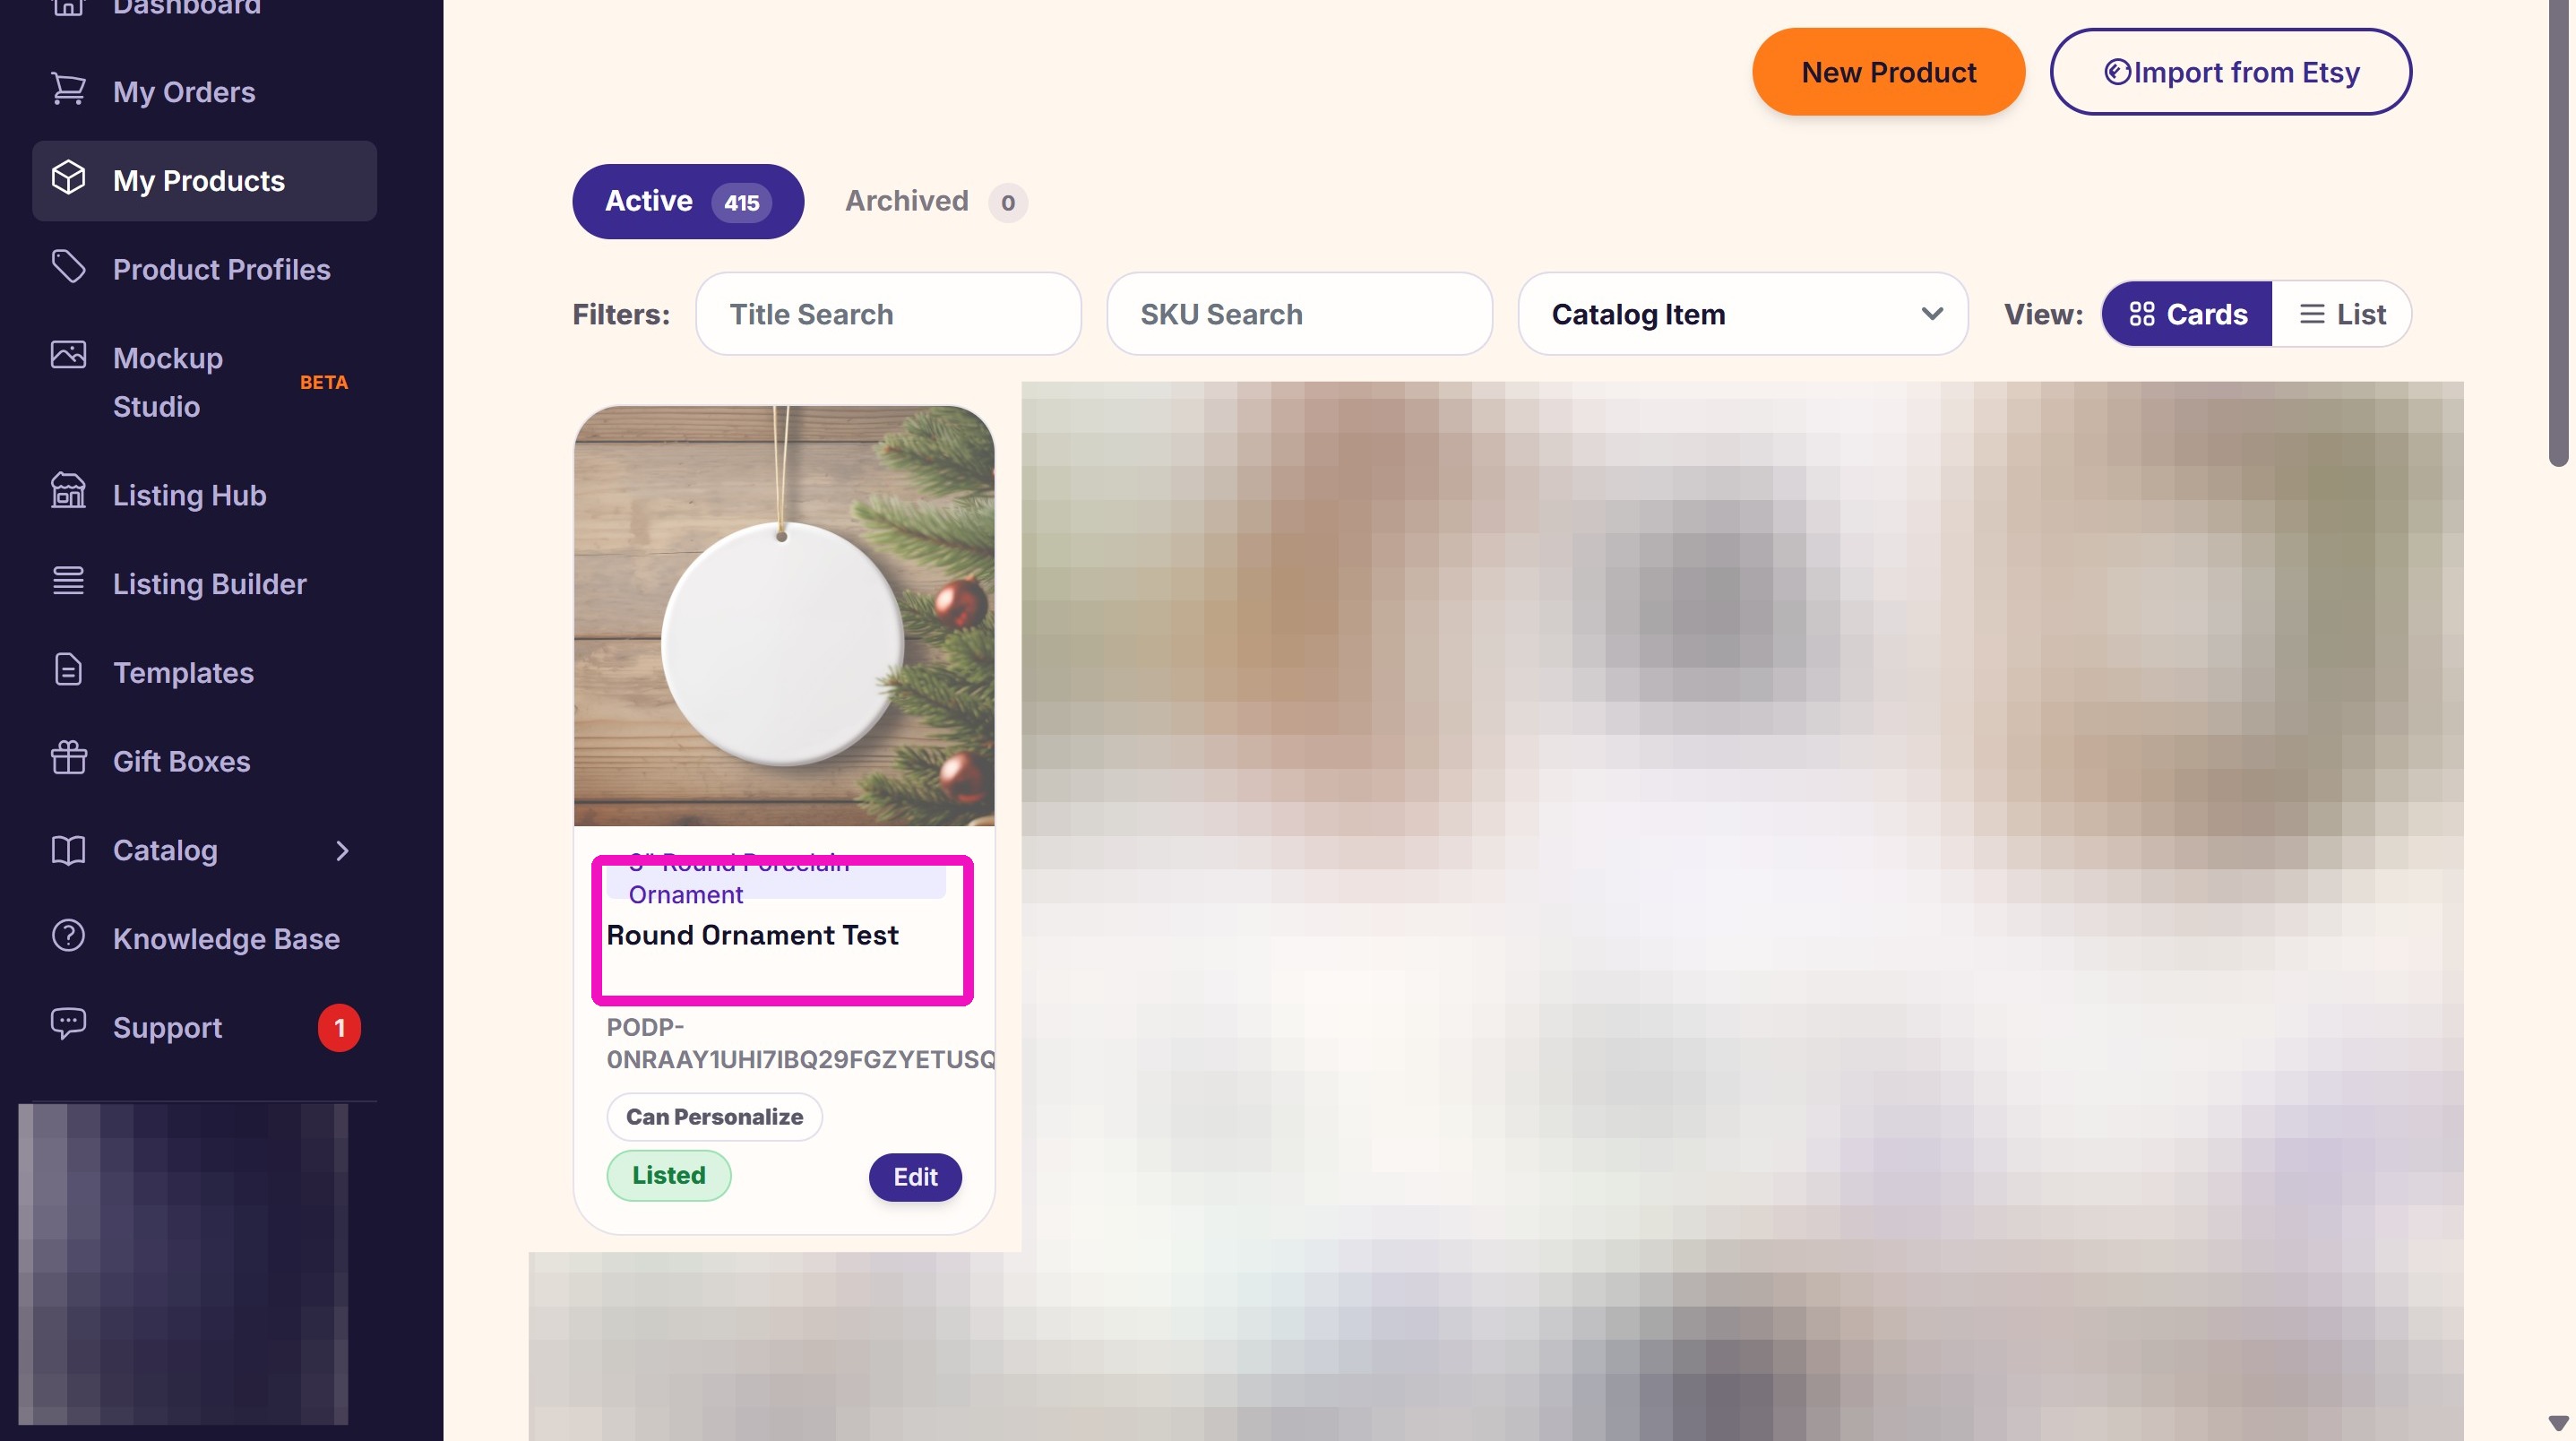
4. Go back to My Products and click the new copy of your product.
5. Click Edit.
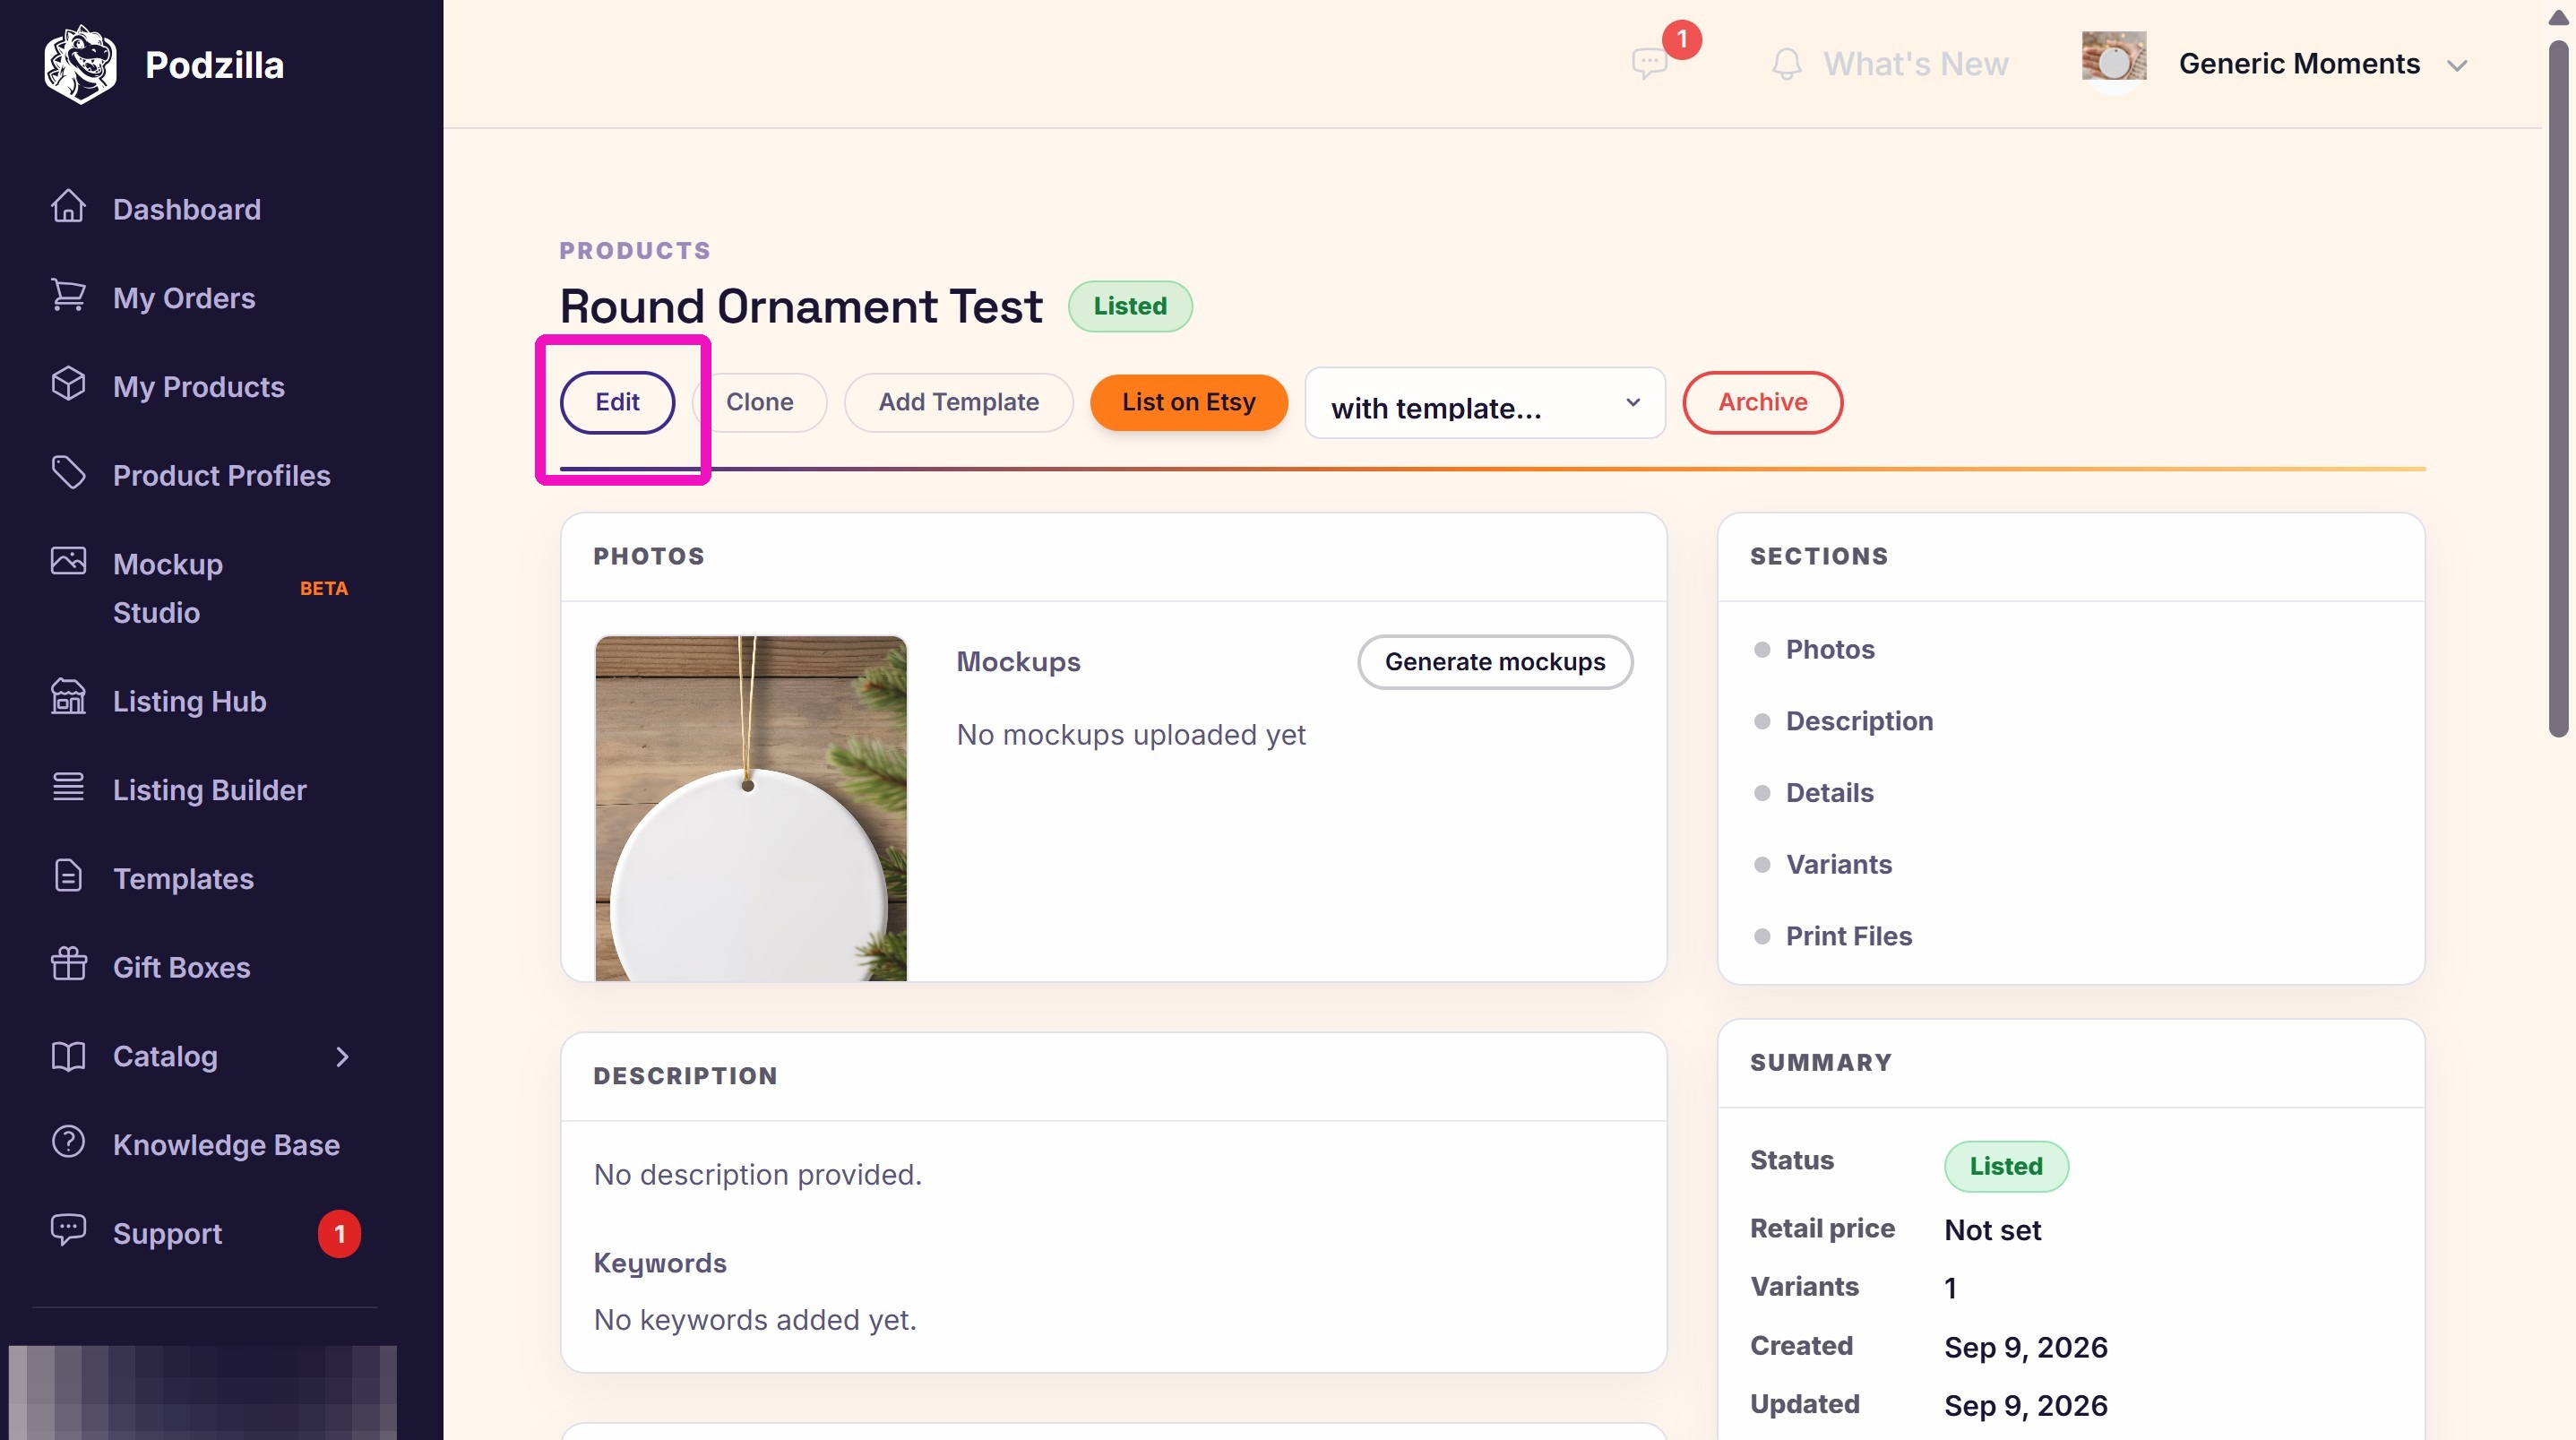
6. Replace the Product Preview Photo and Title with the new image and title.
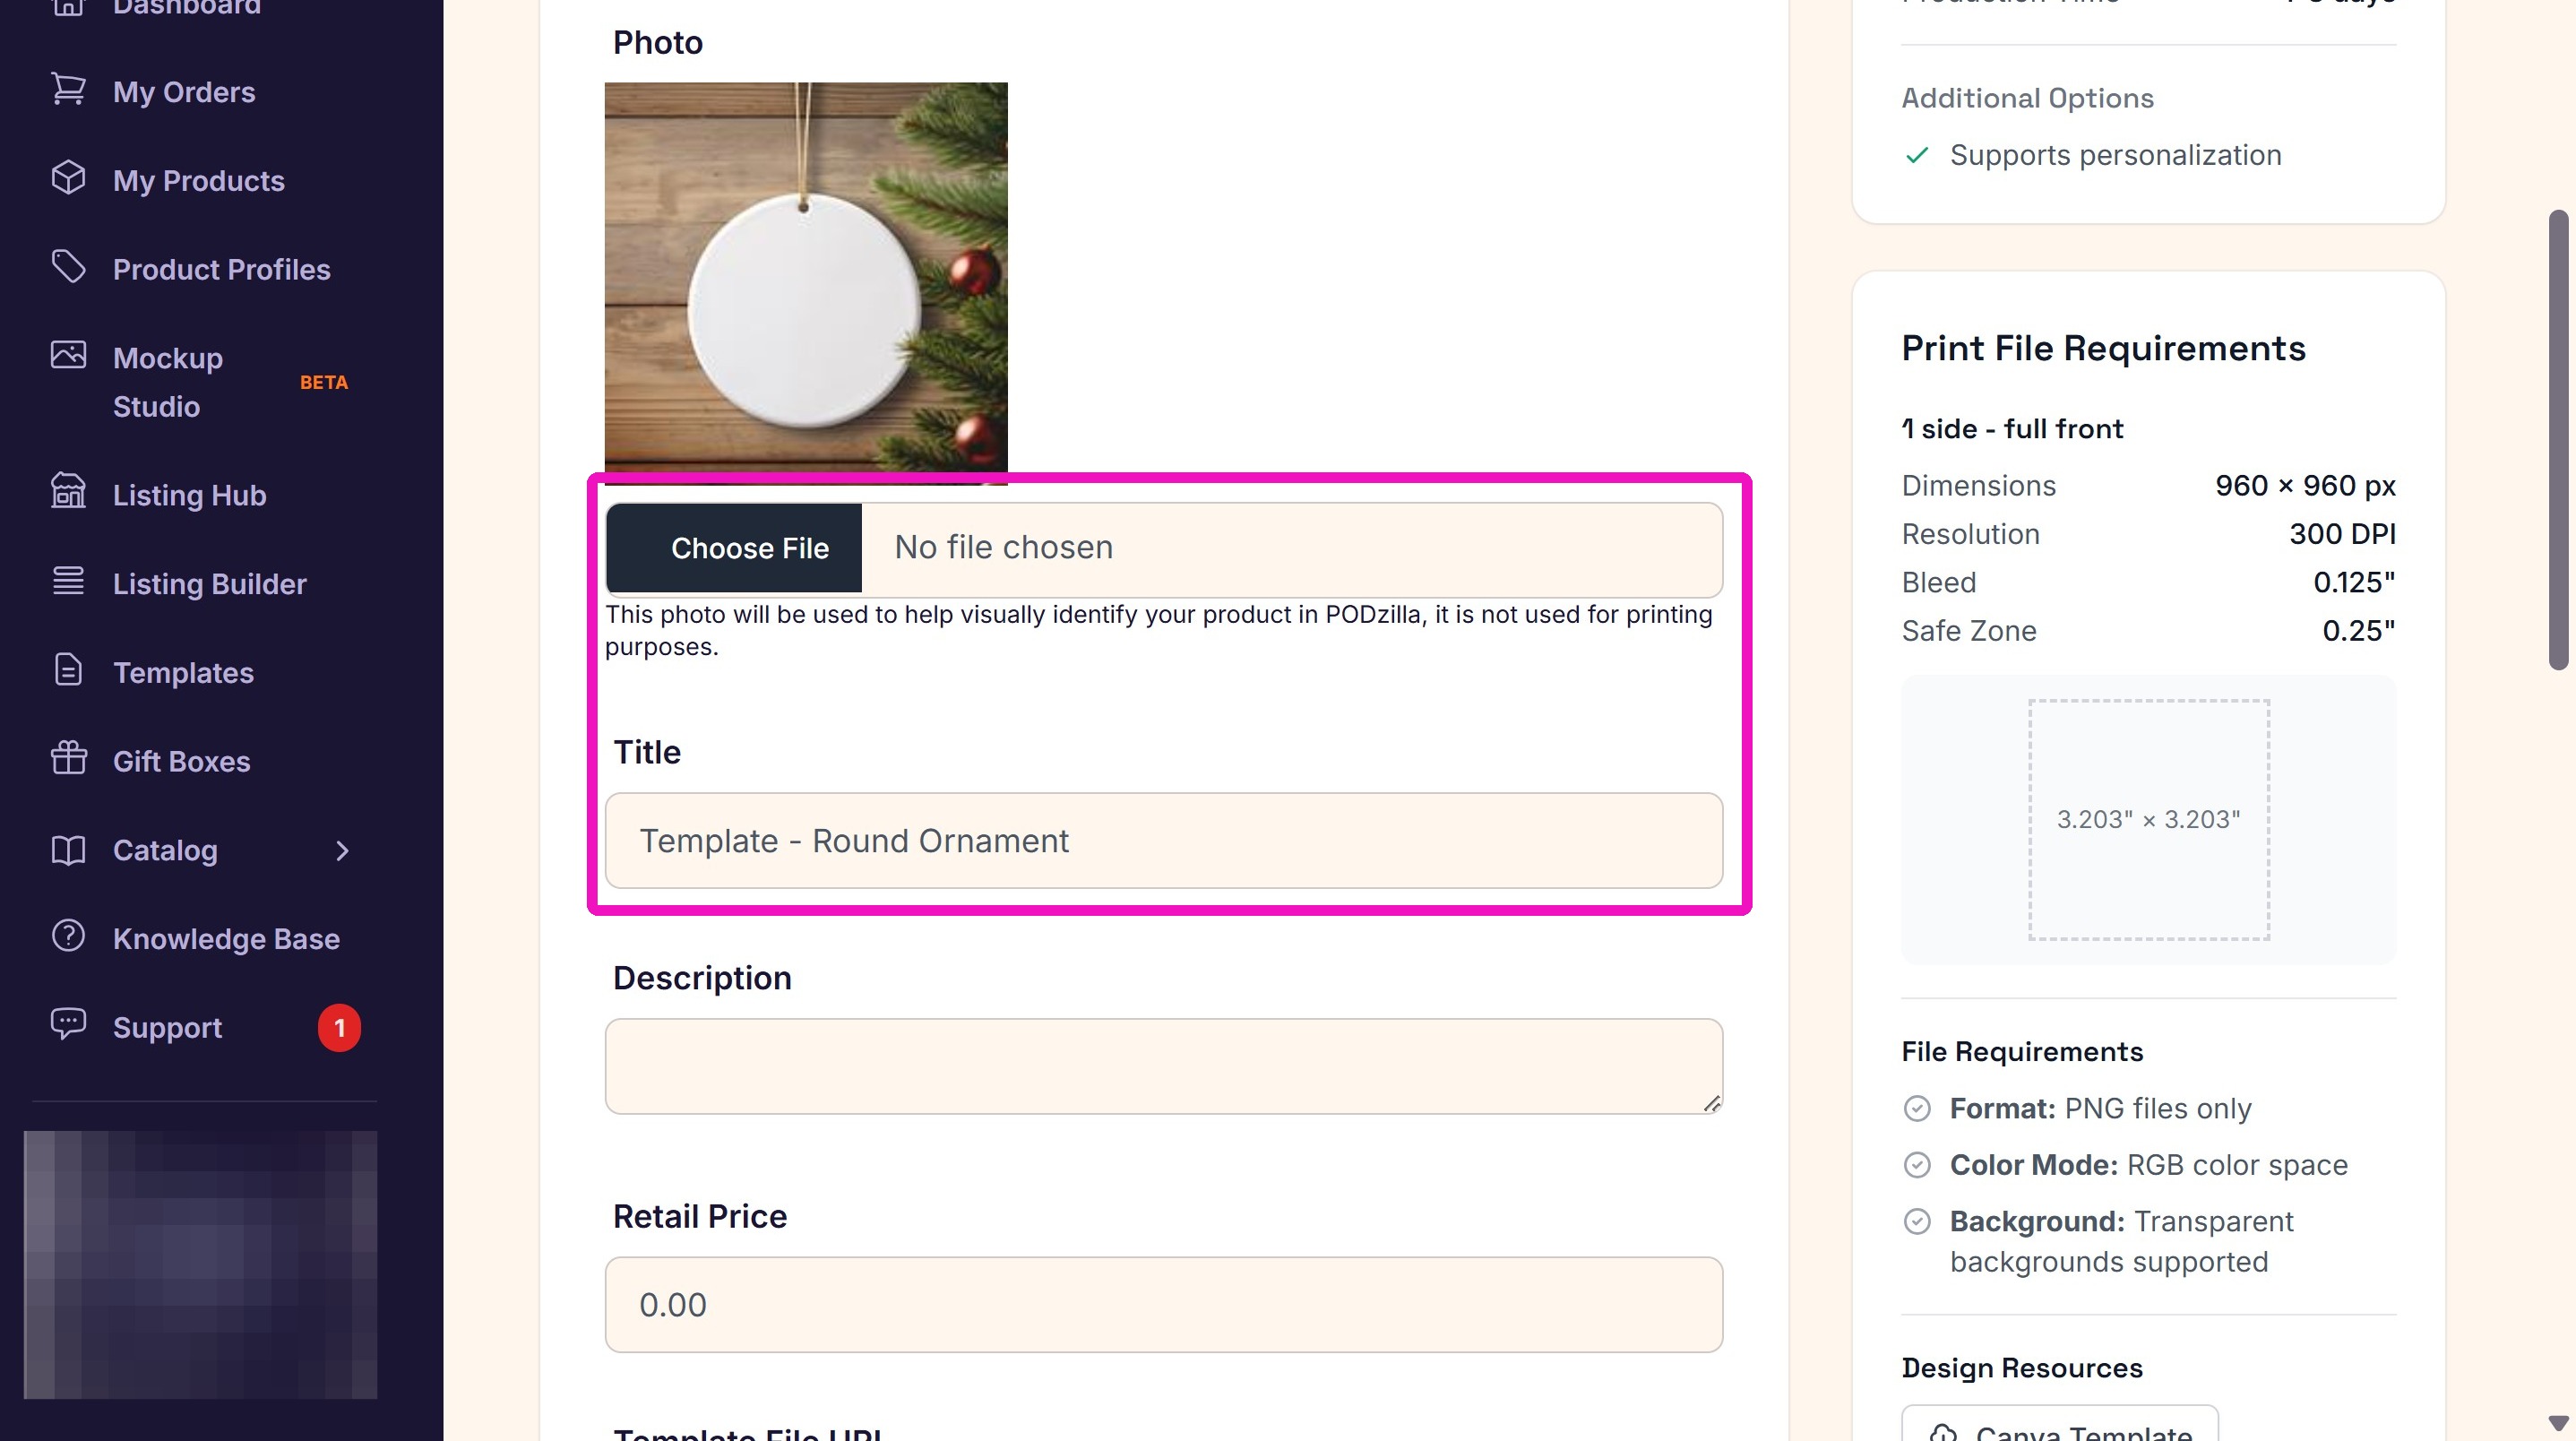
7. Add a link to the to your new design file if necessary.
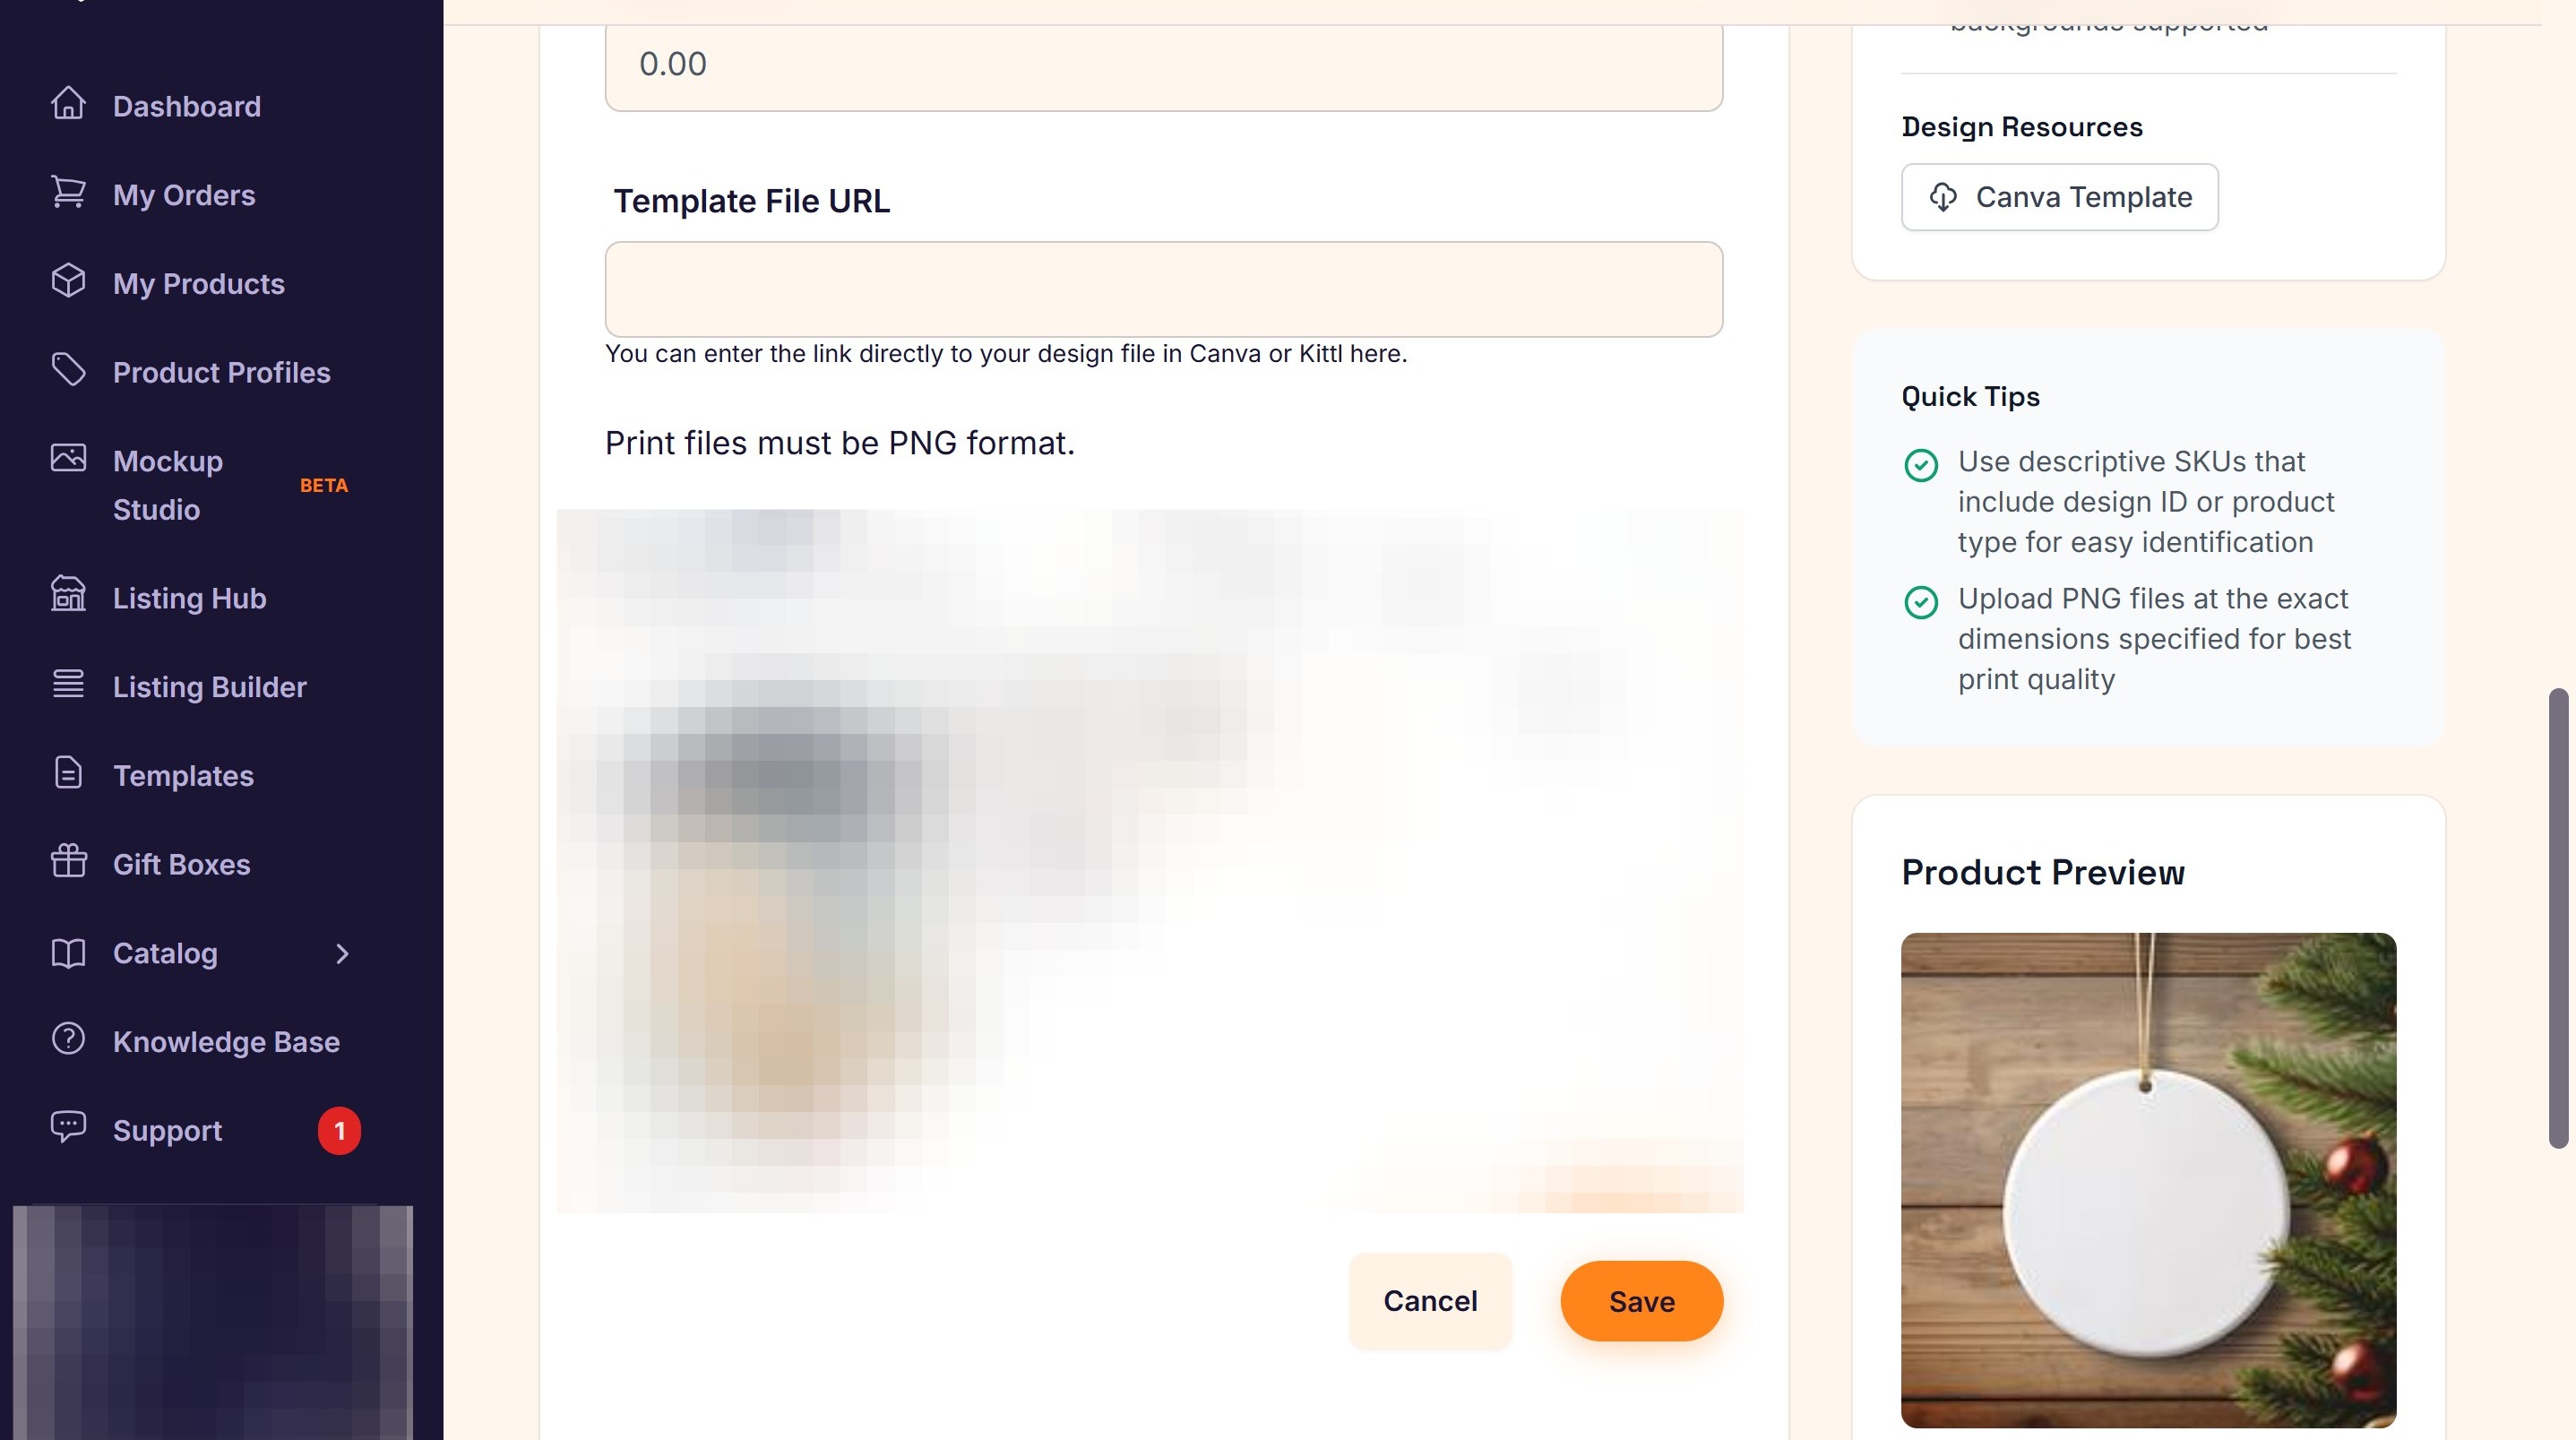
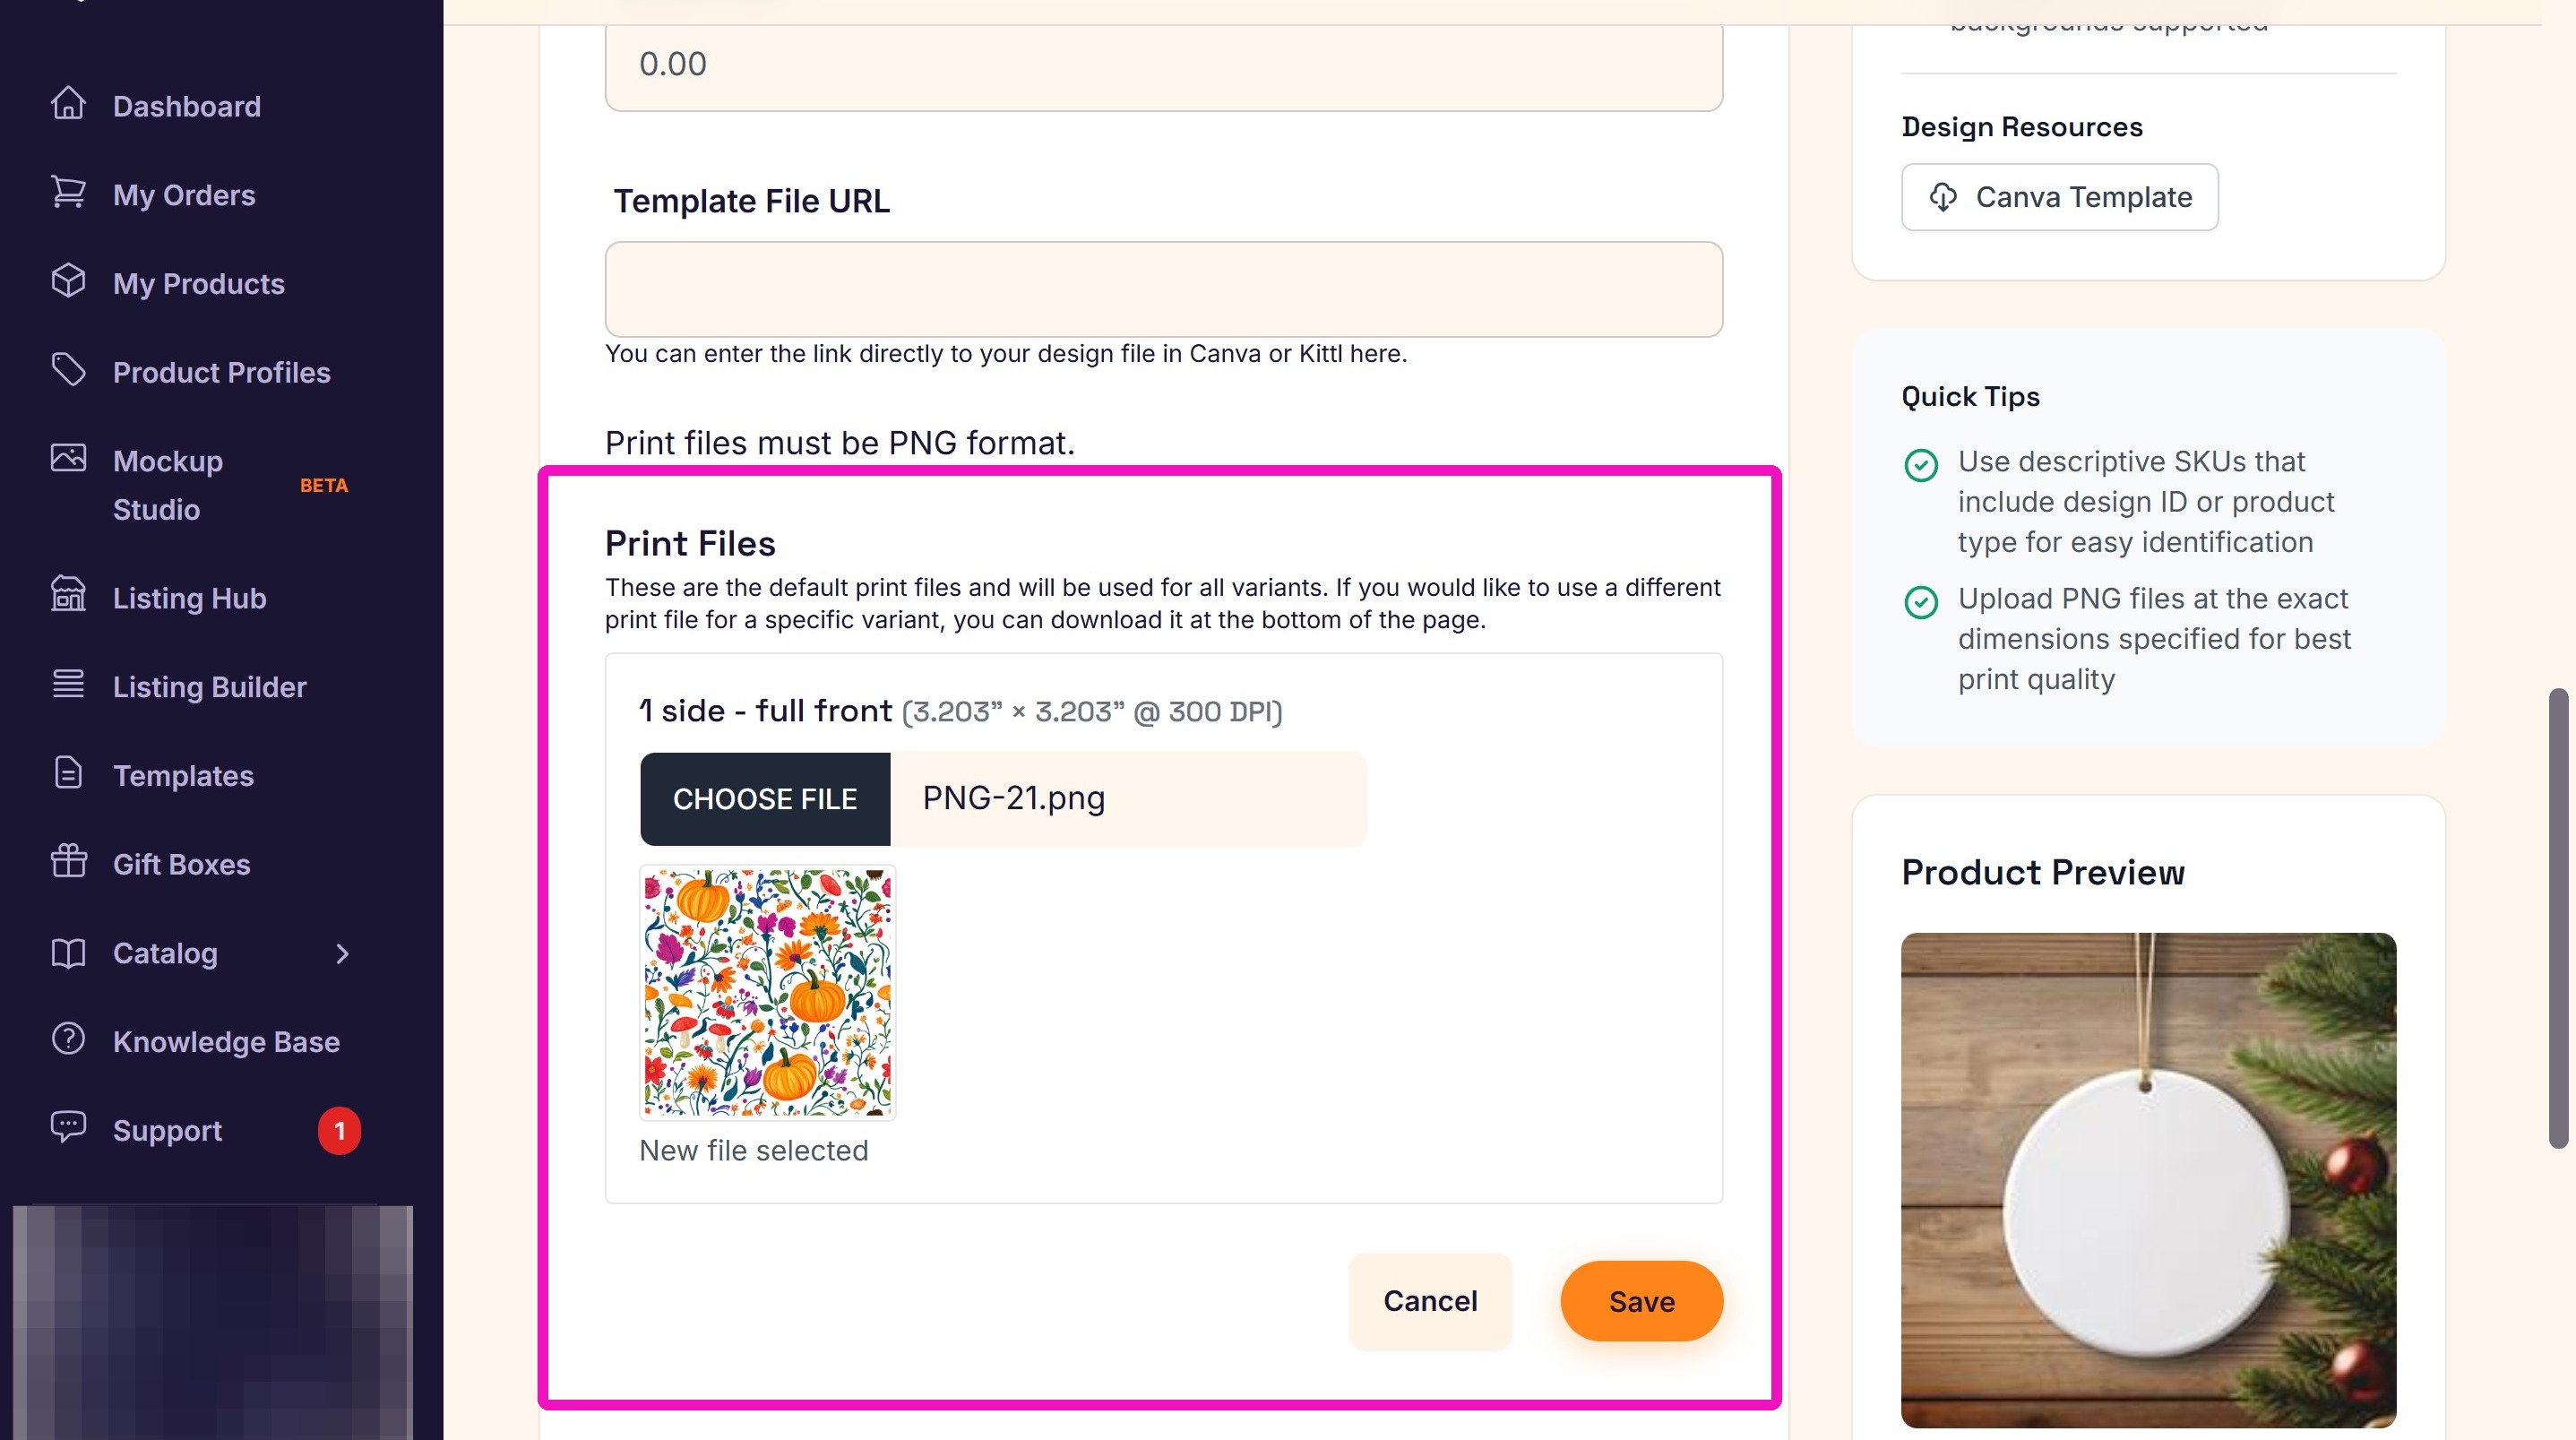
8. Upload your design print file and click Save.
9. Choose your Listing Template from the 'with template' dropdown menu.
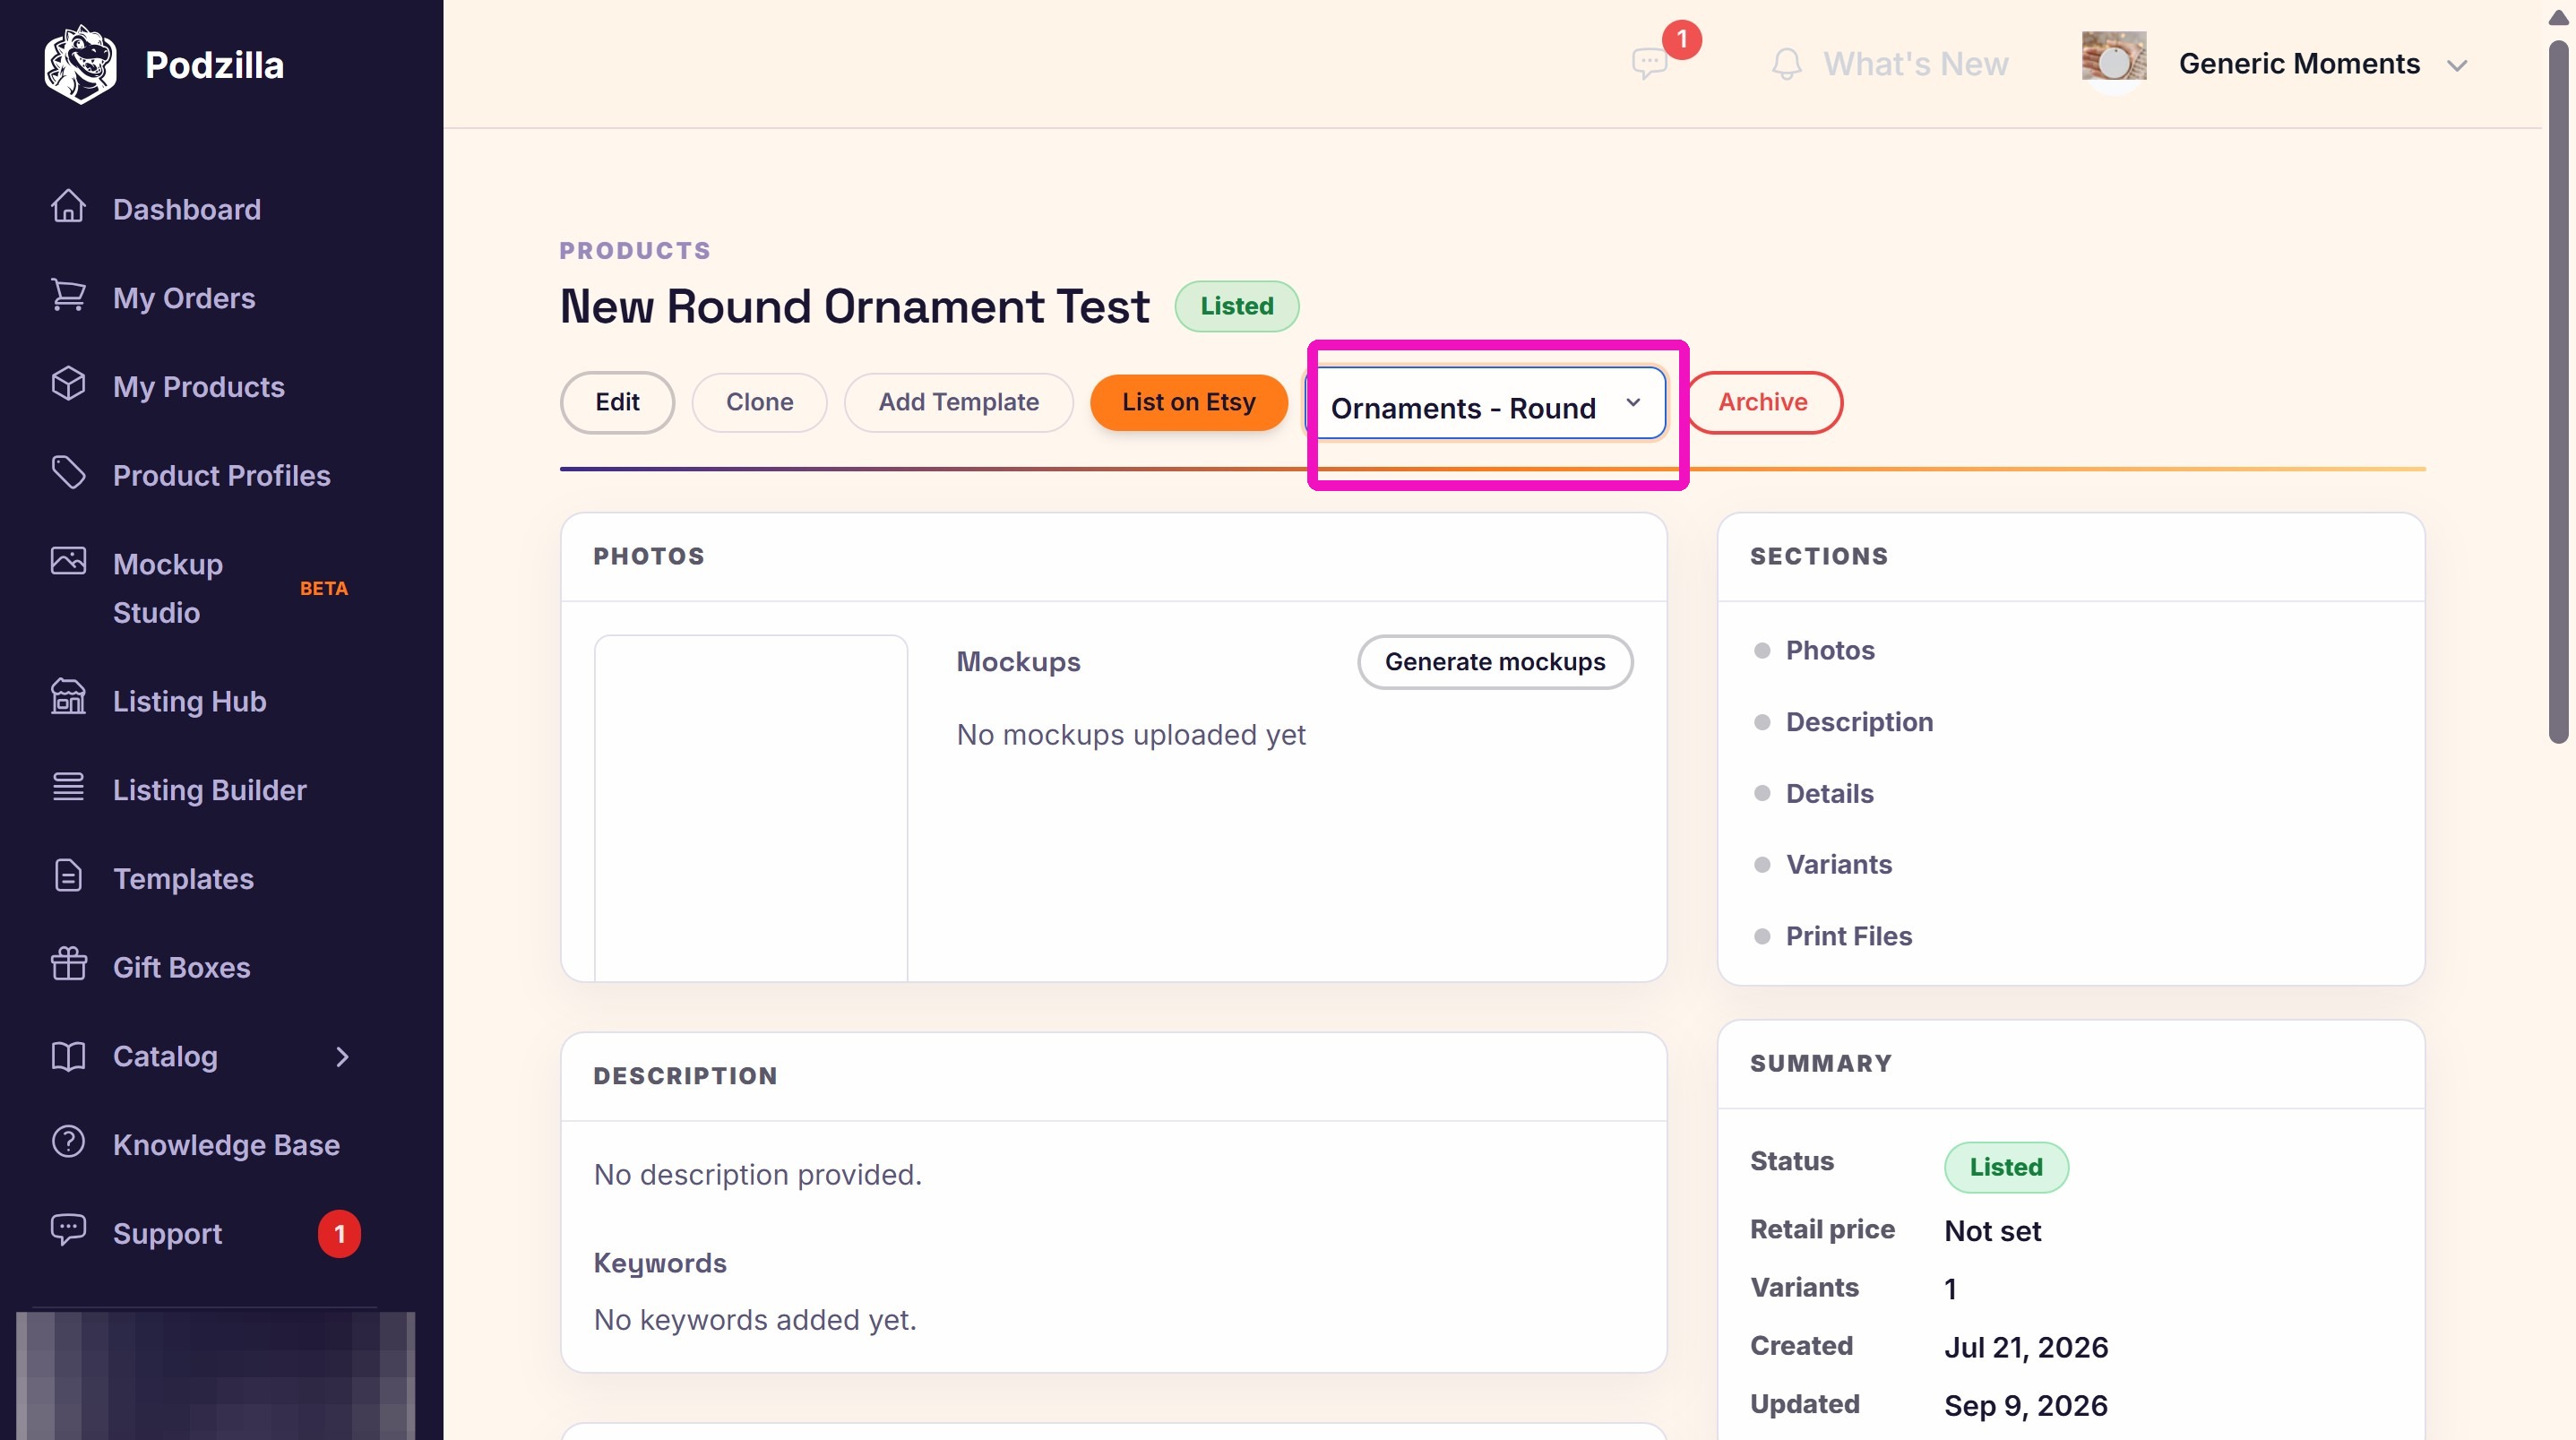
Create Your Listing from the Listing Builder Template
Arrange the photos in the order you want them to show up in your Etsy listing.
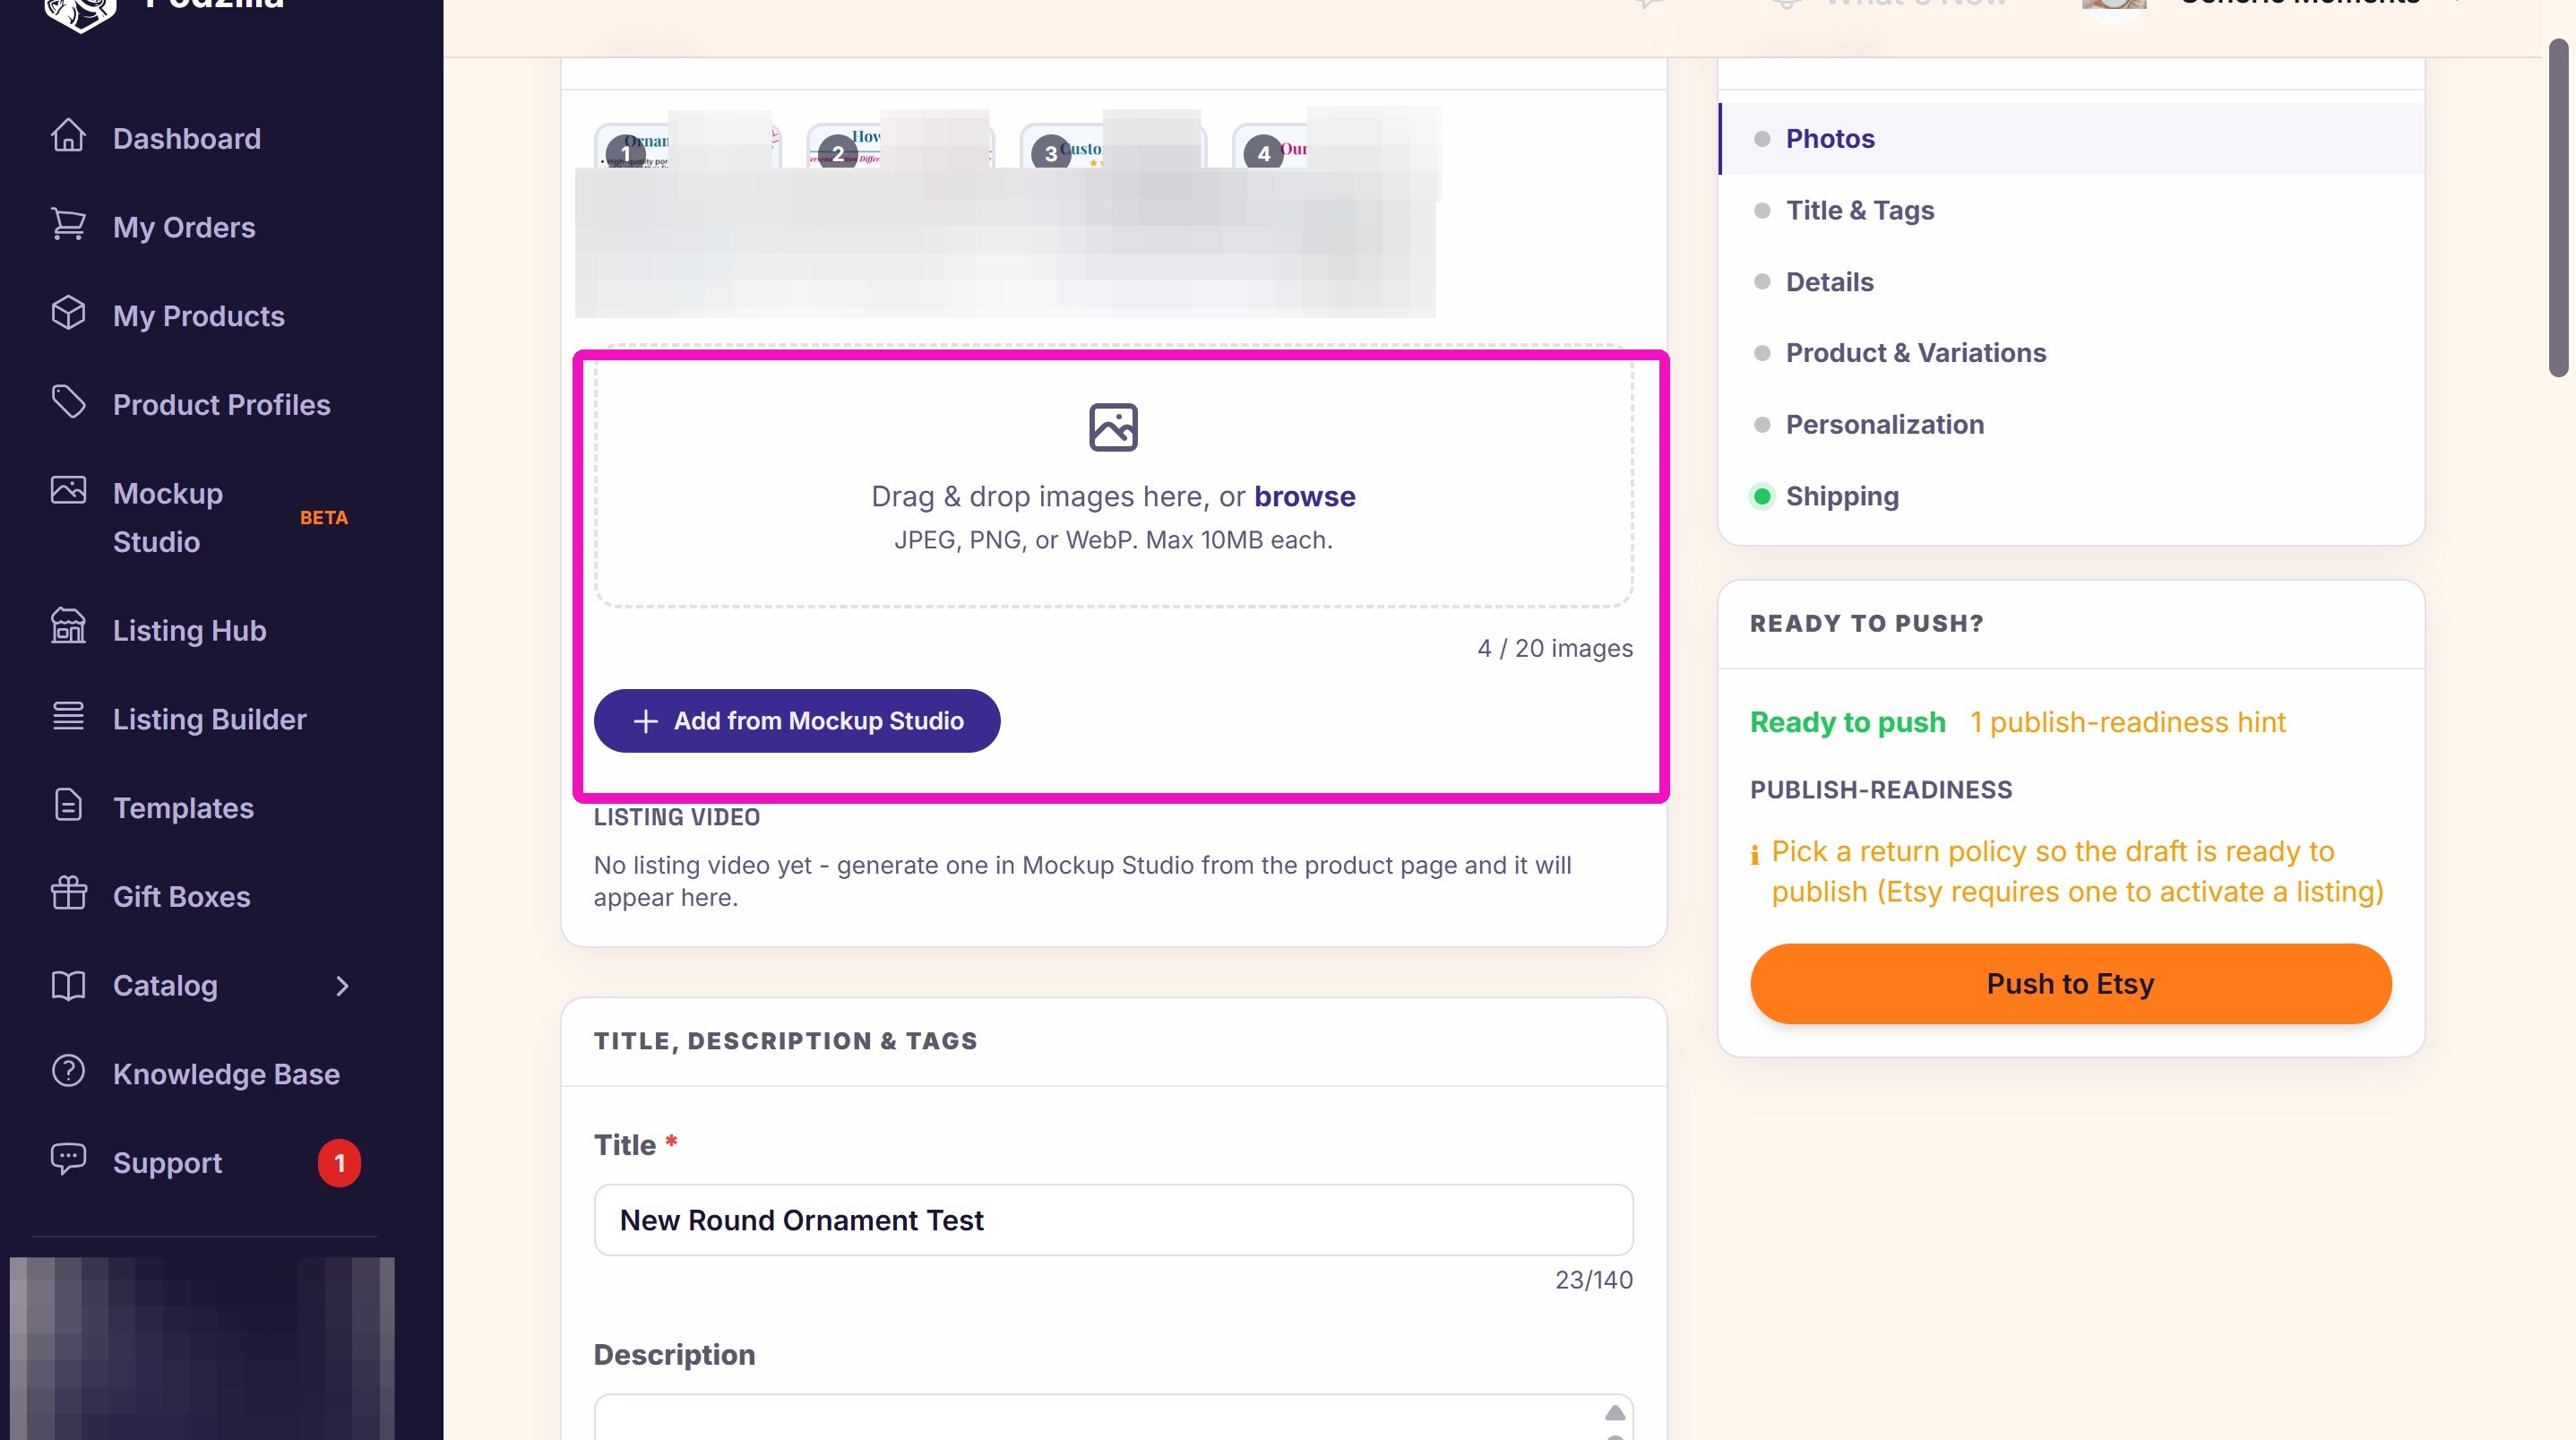
11. Add the Title, Description, and Tags you want in your Etsy listing.
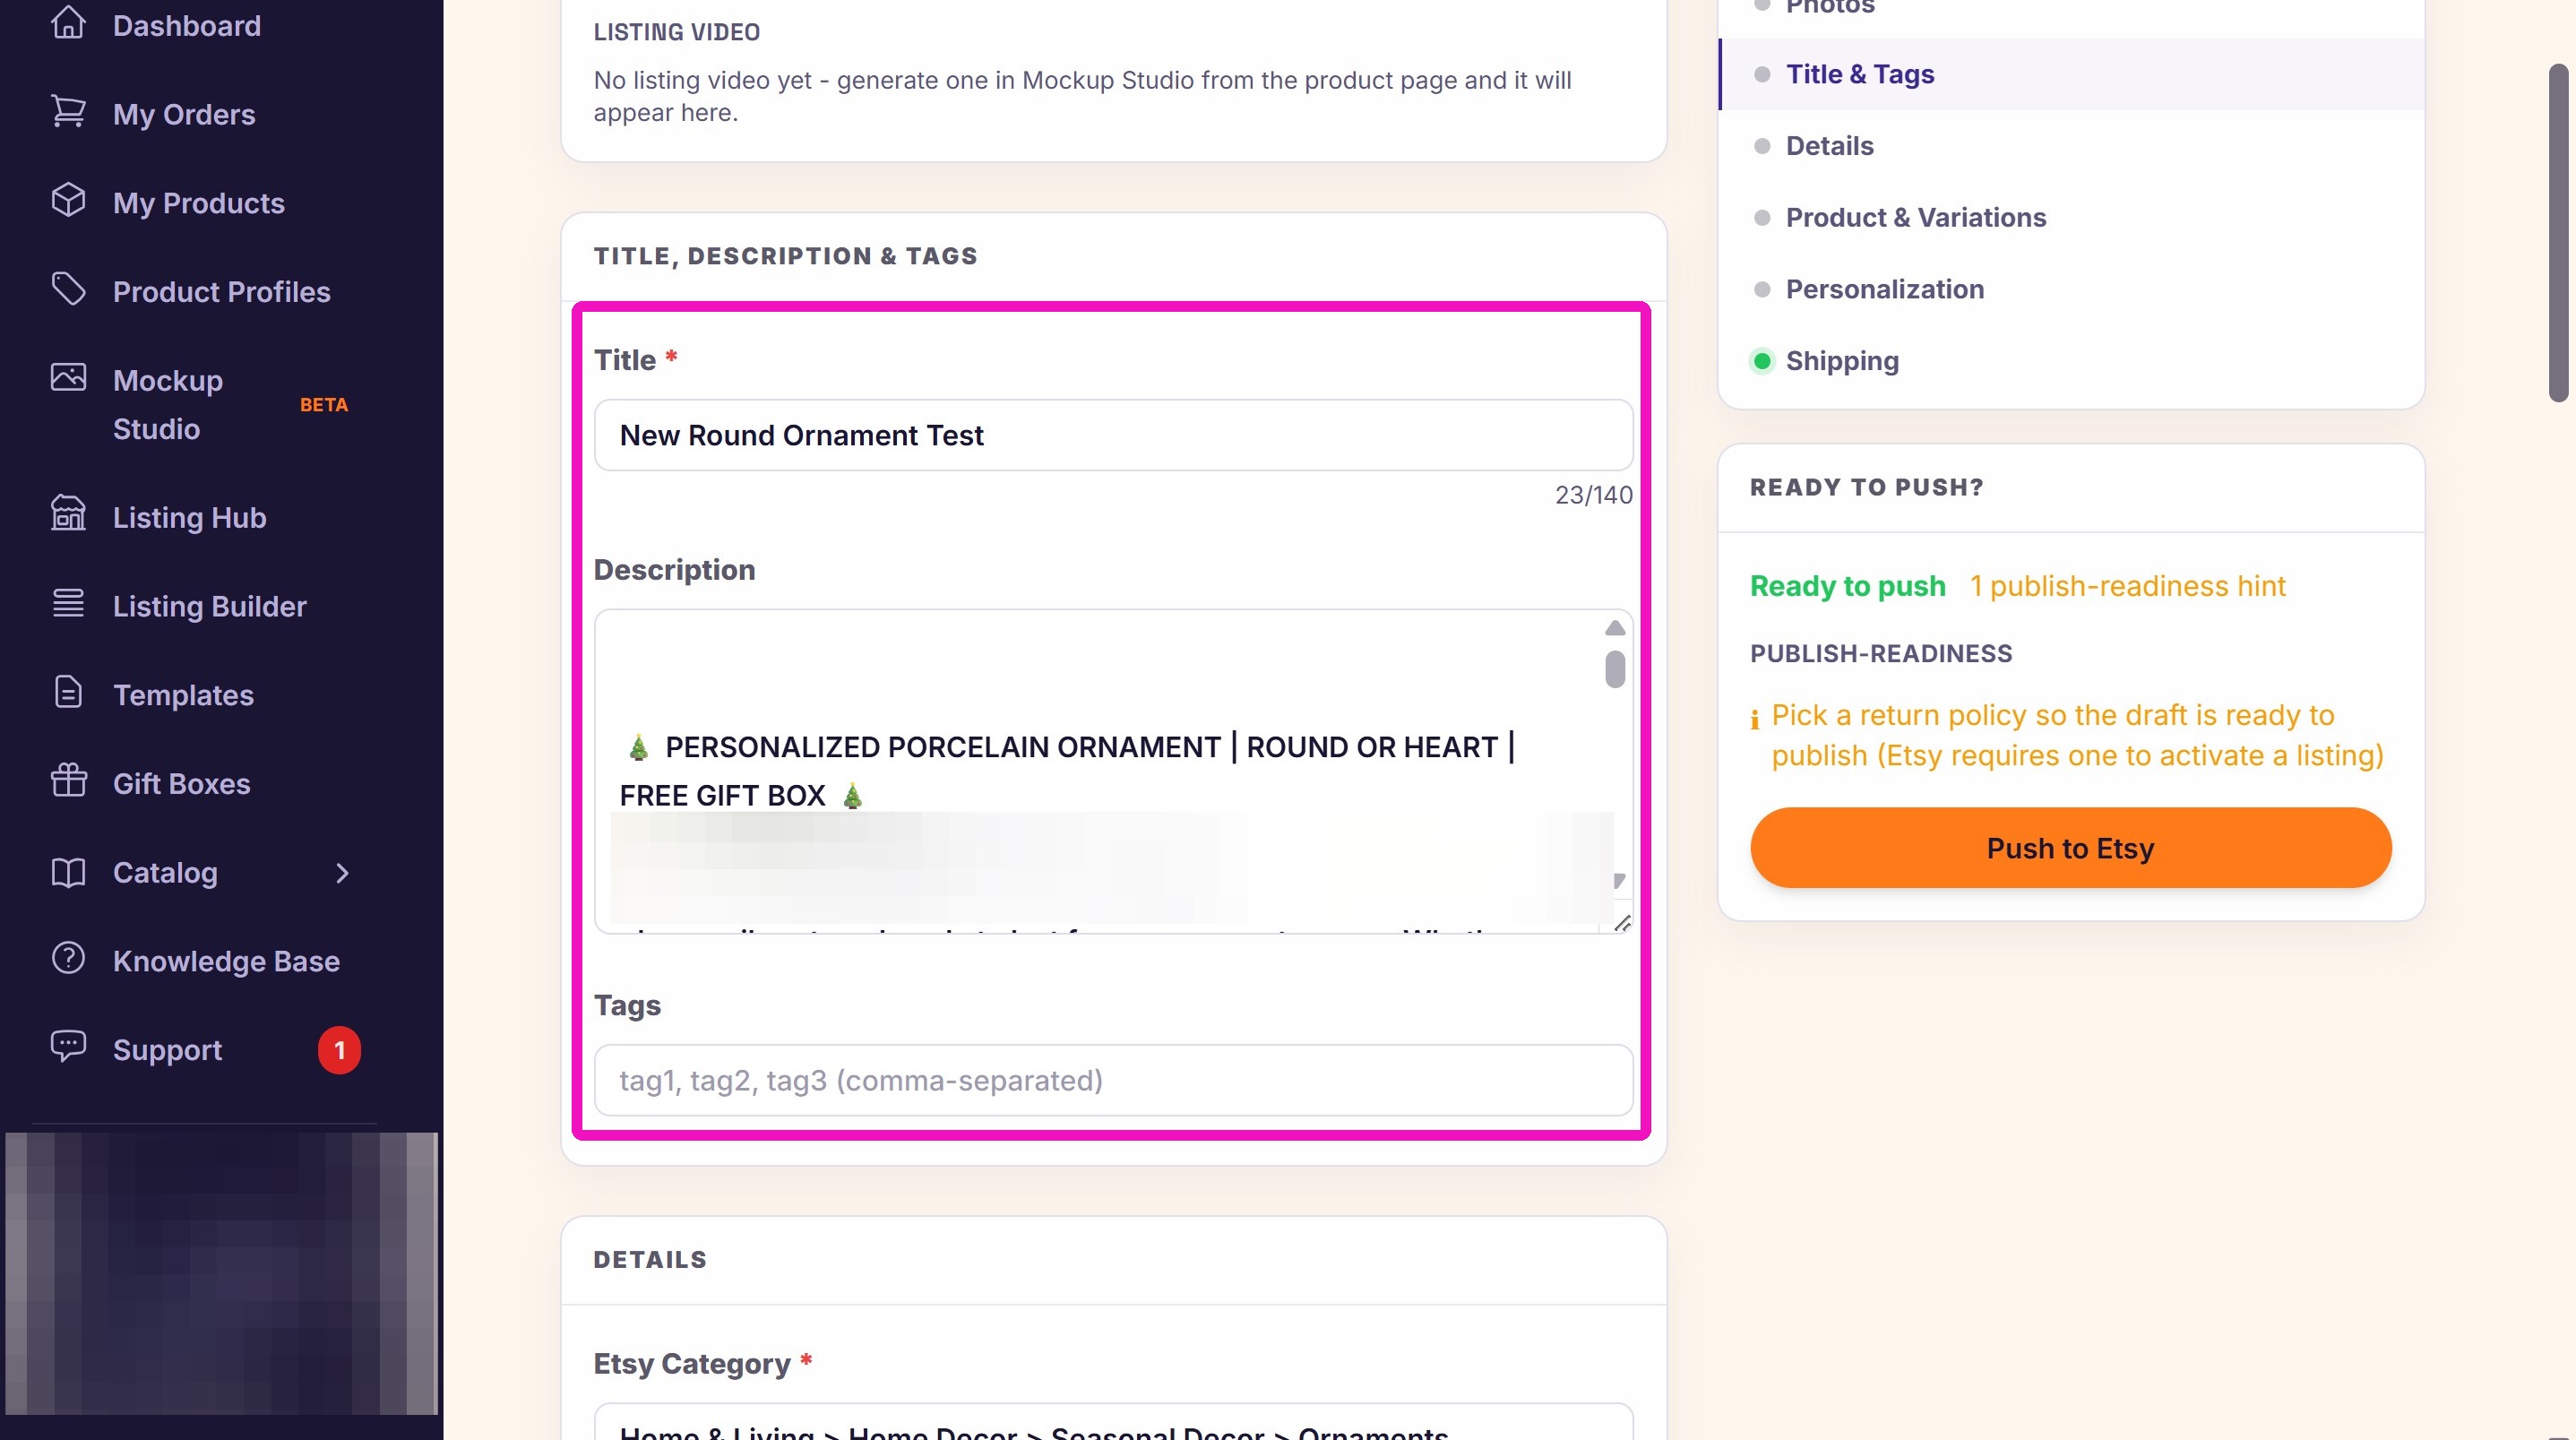
12. Choose the Shop section if you use them in Etsy.
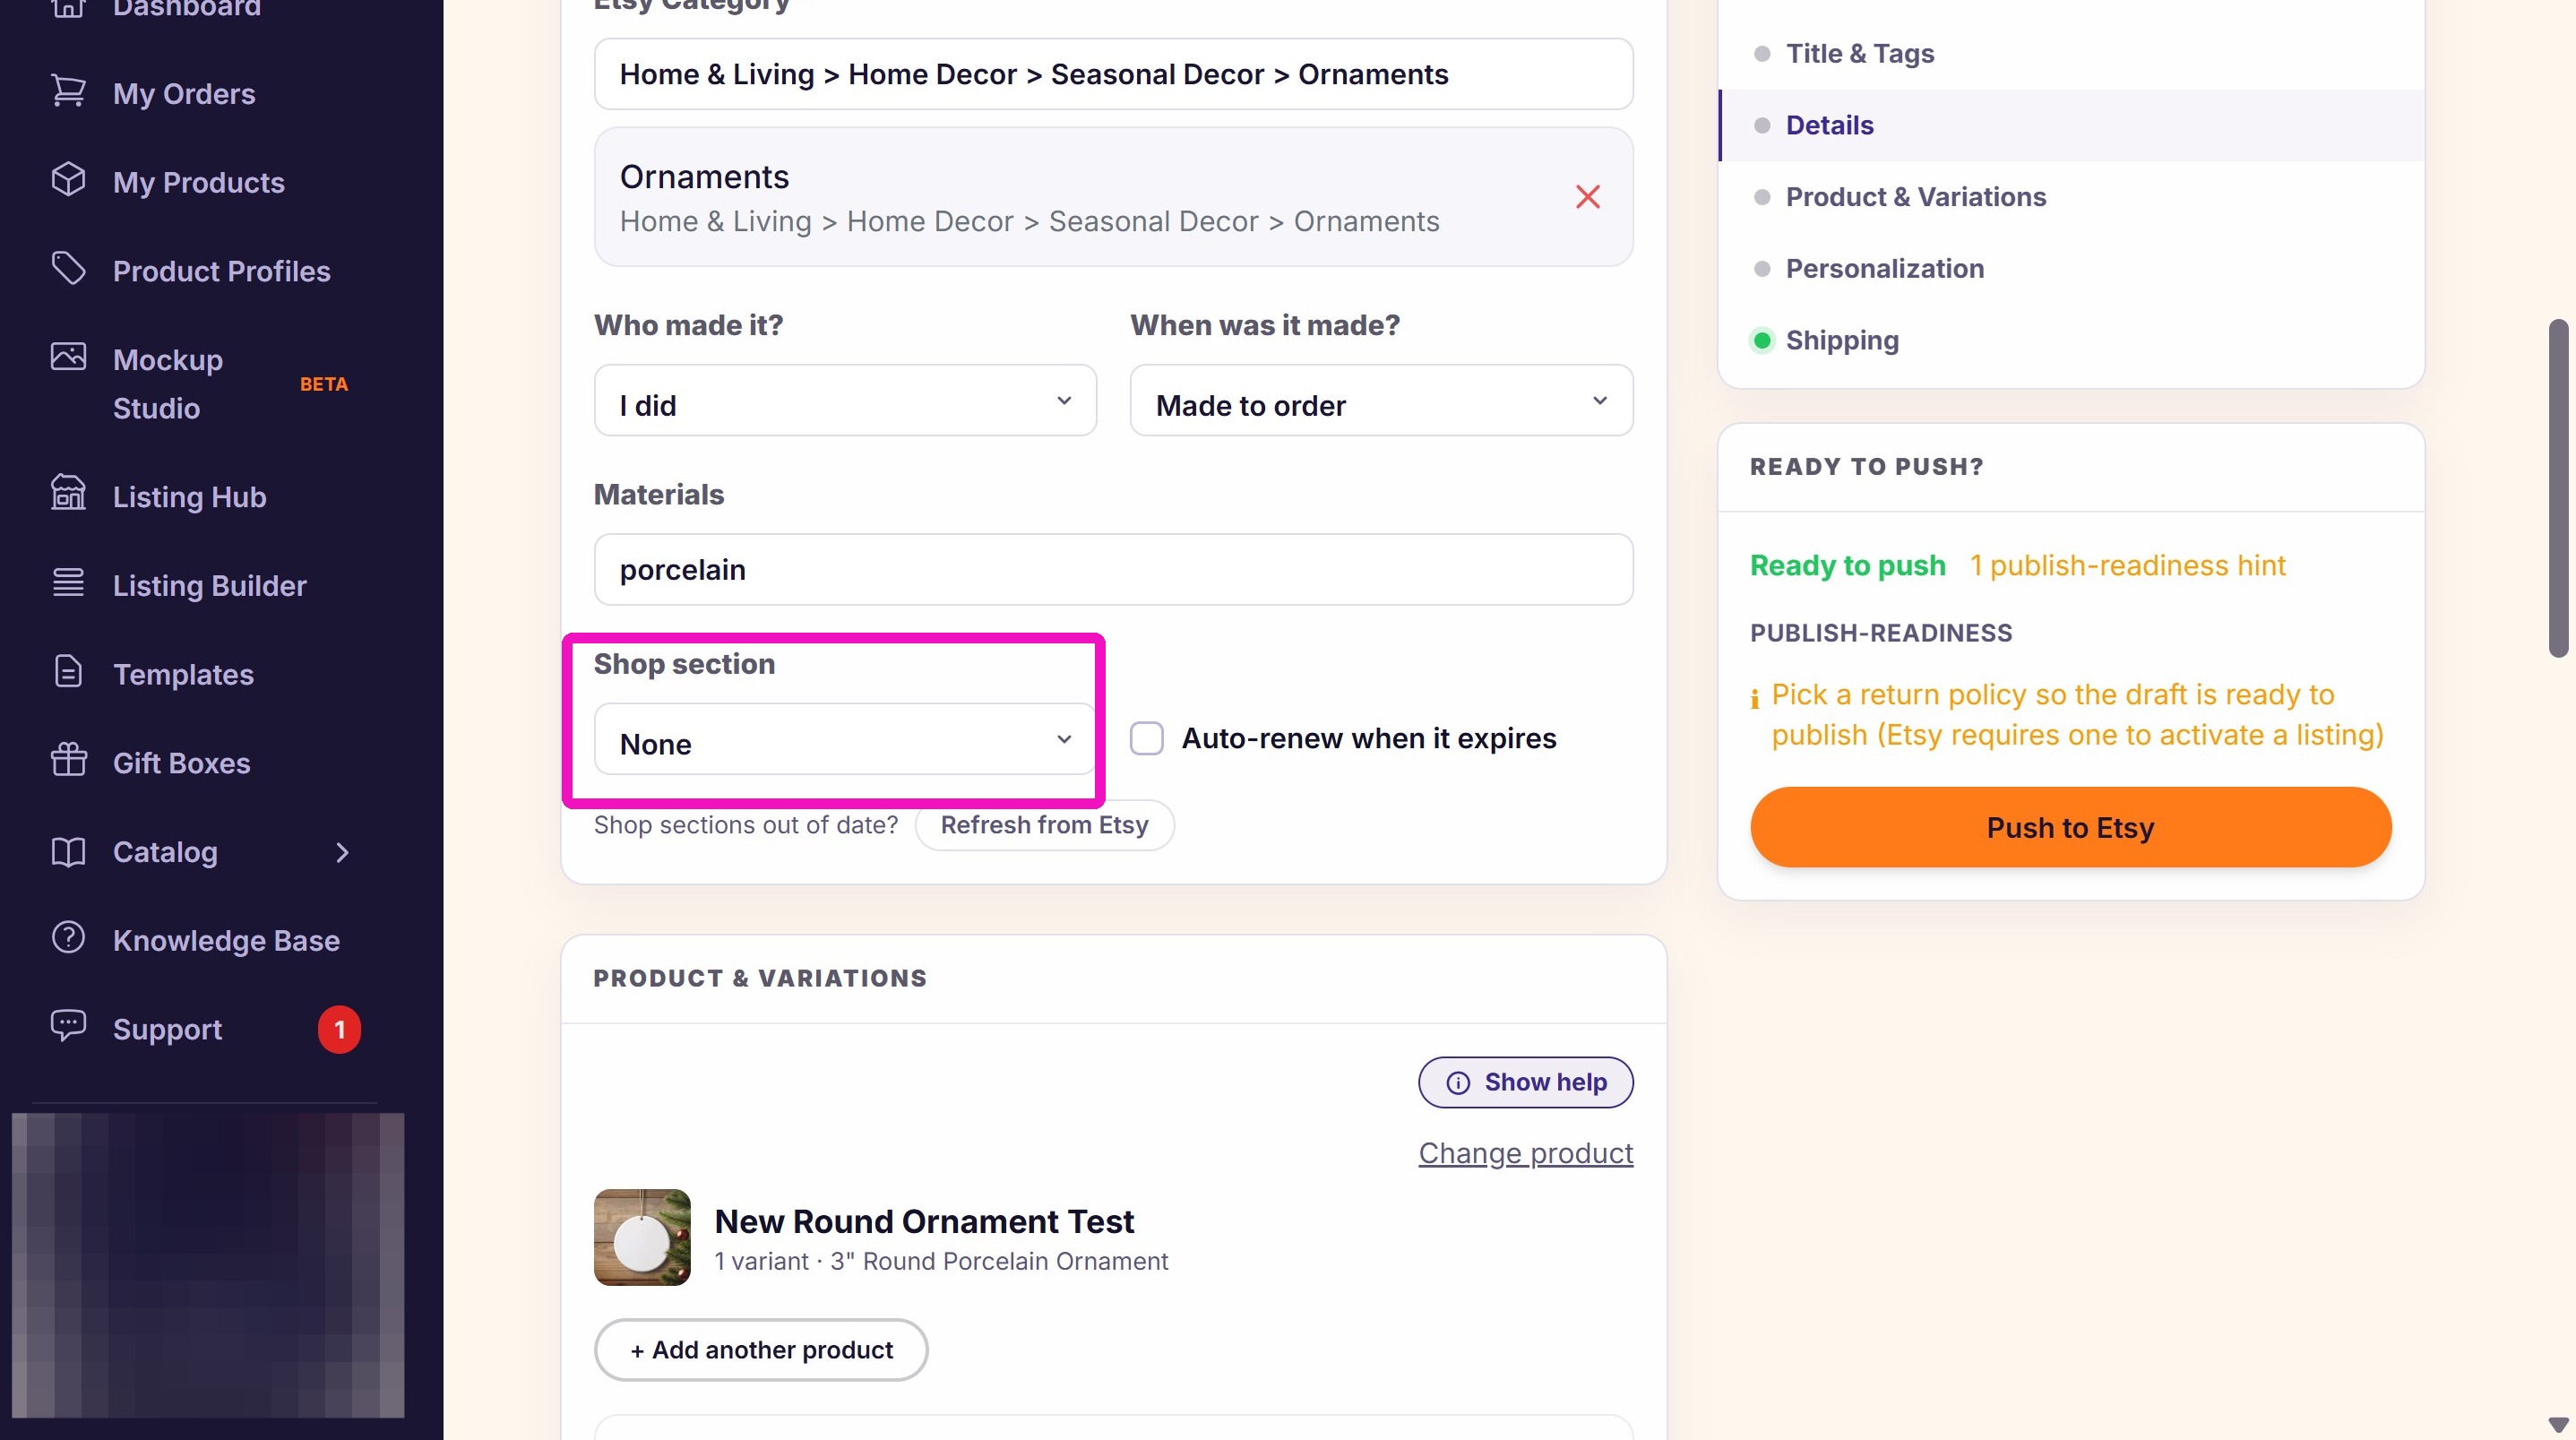
13. Add an other products or variations of products you want in your Etsy listing.
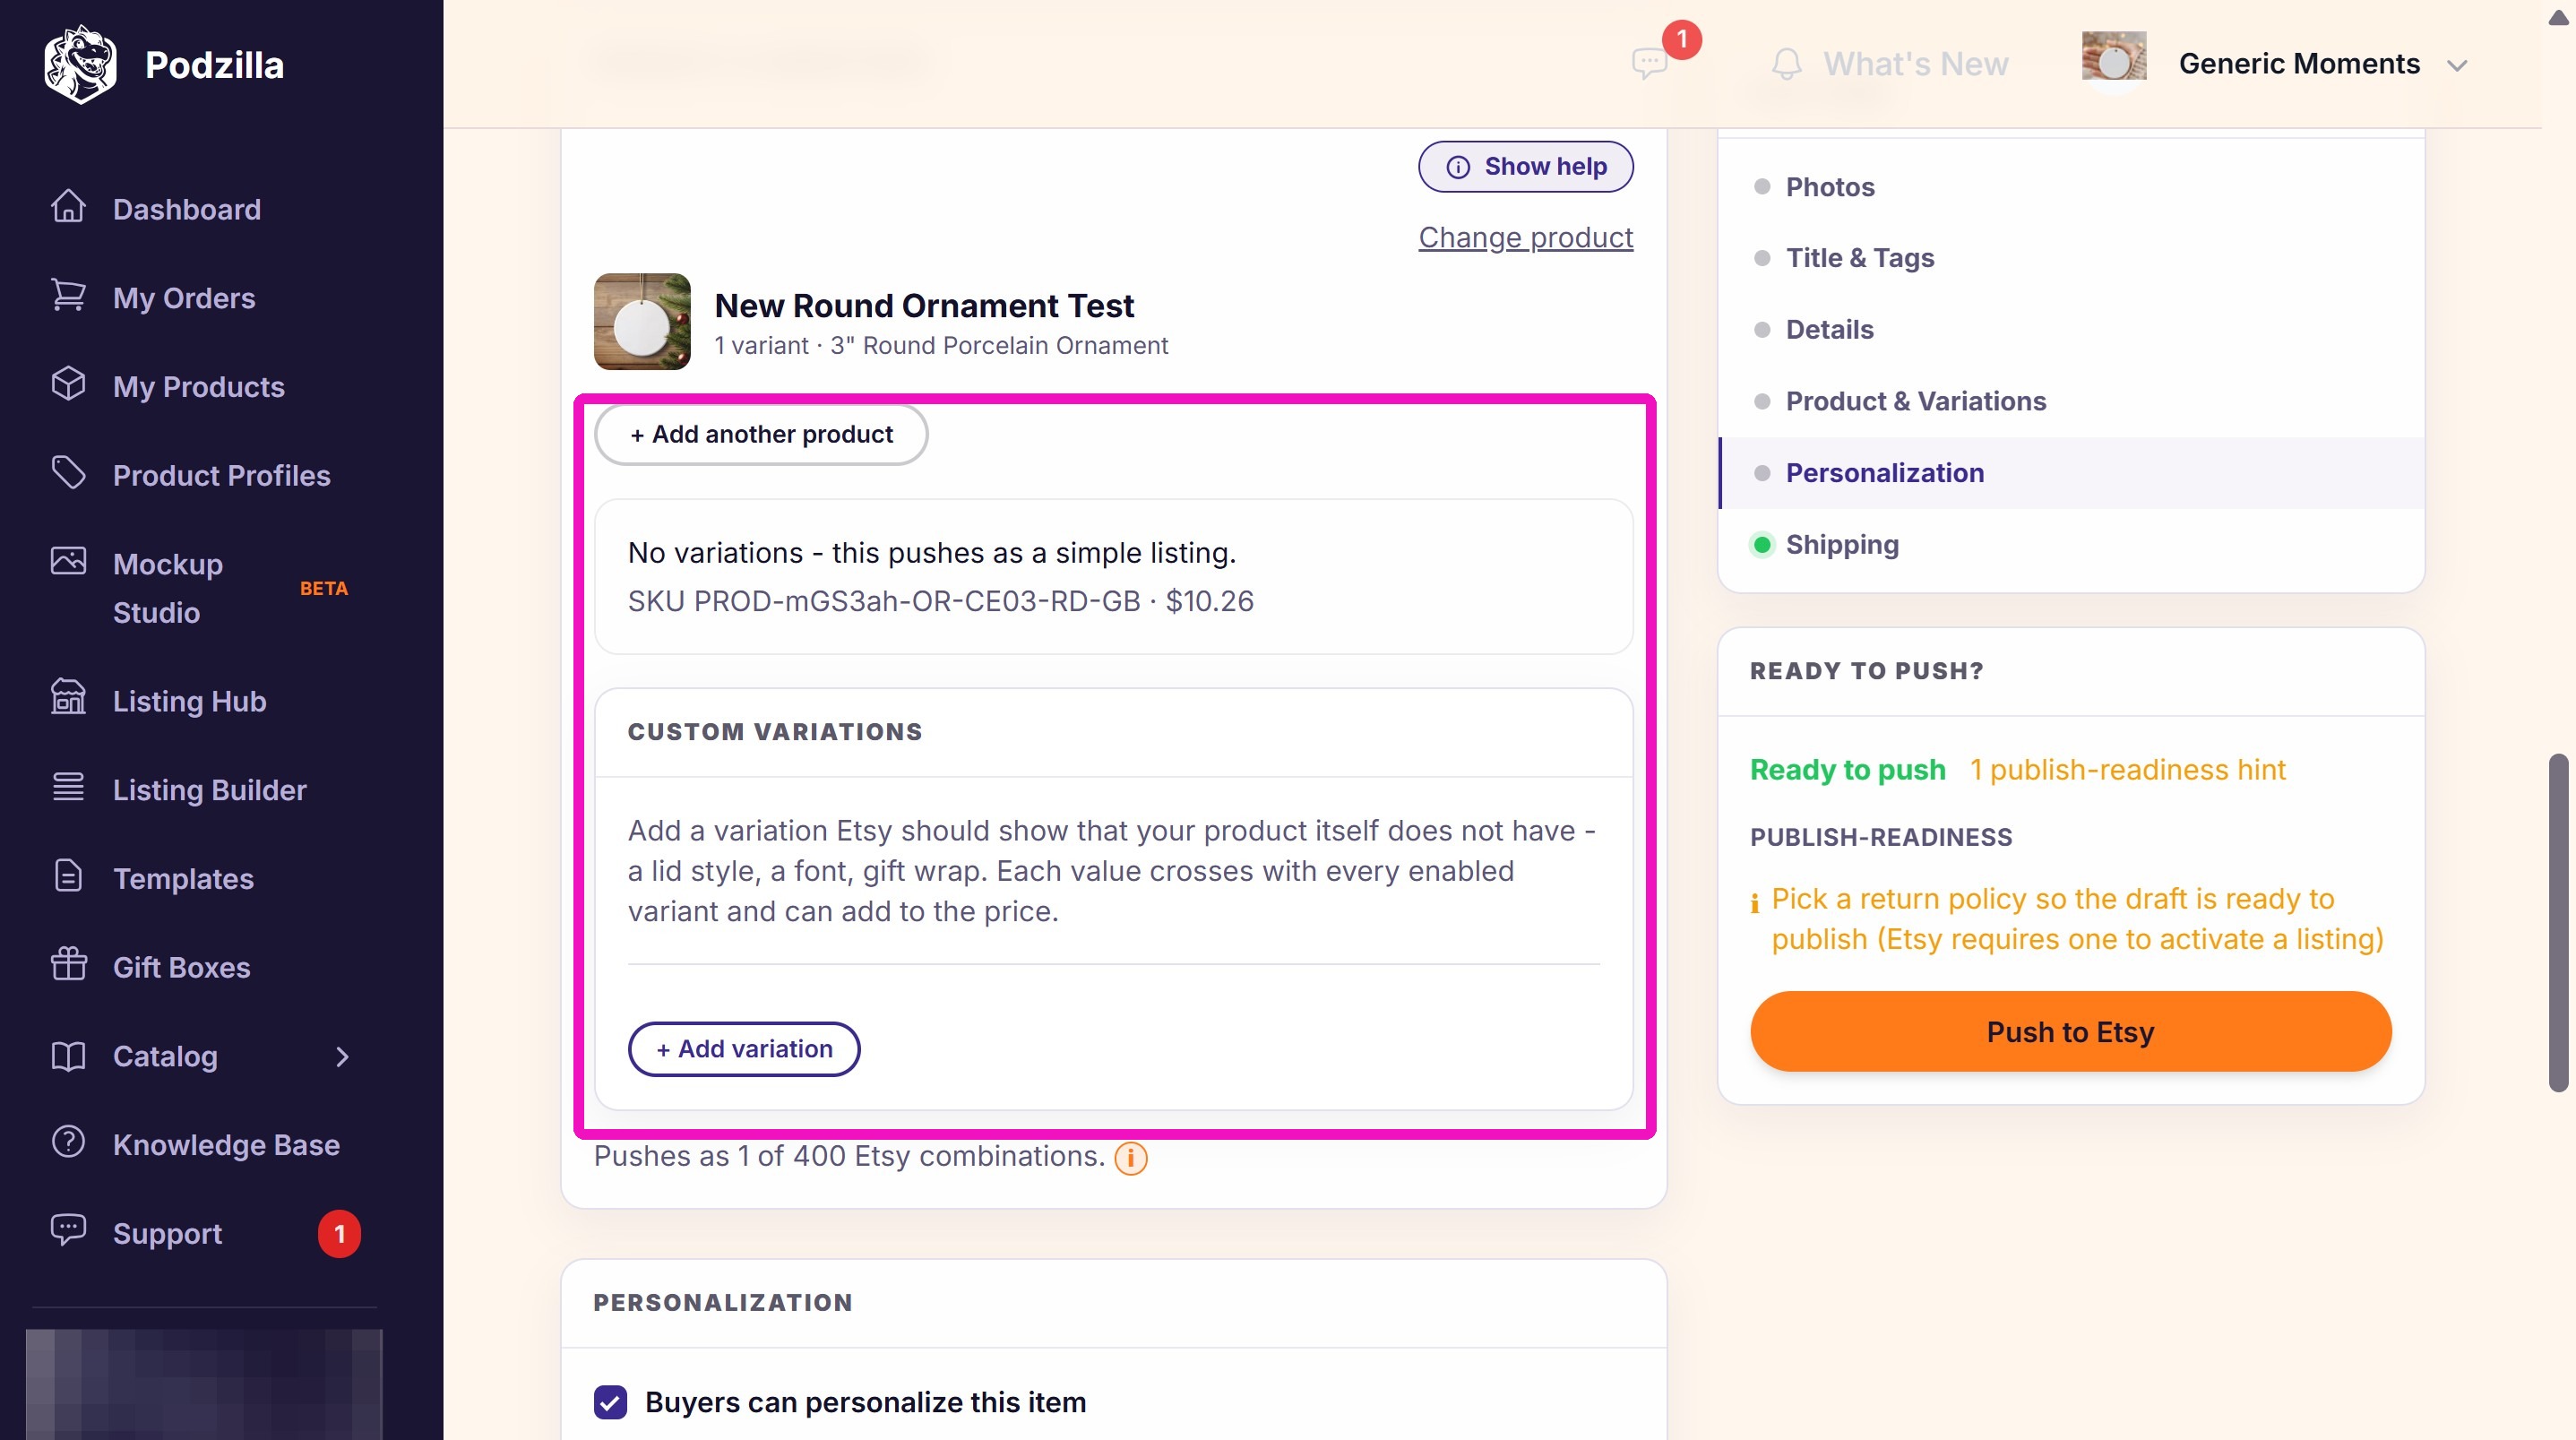
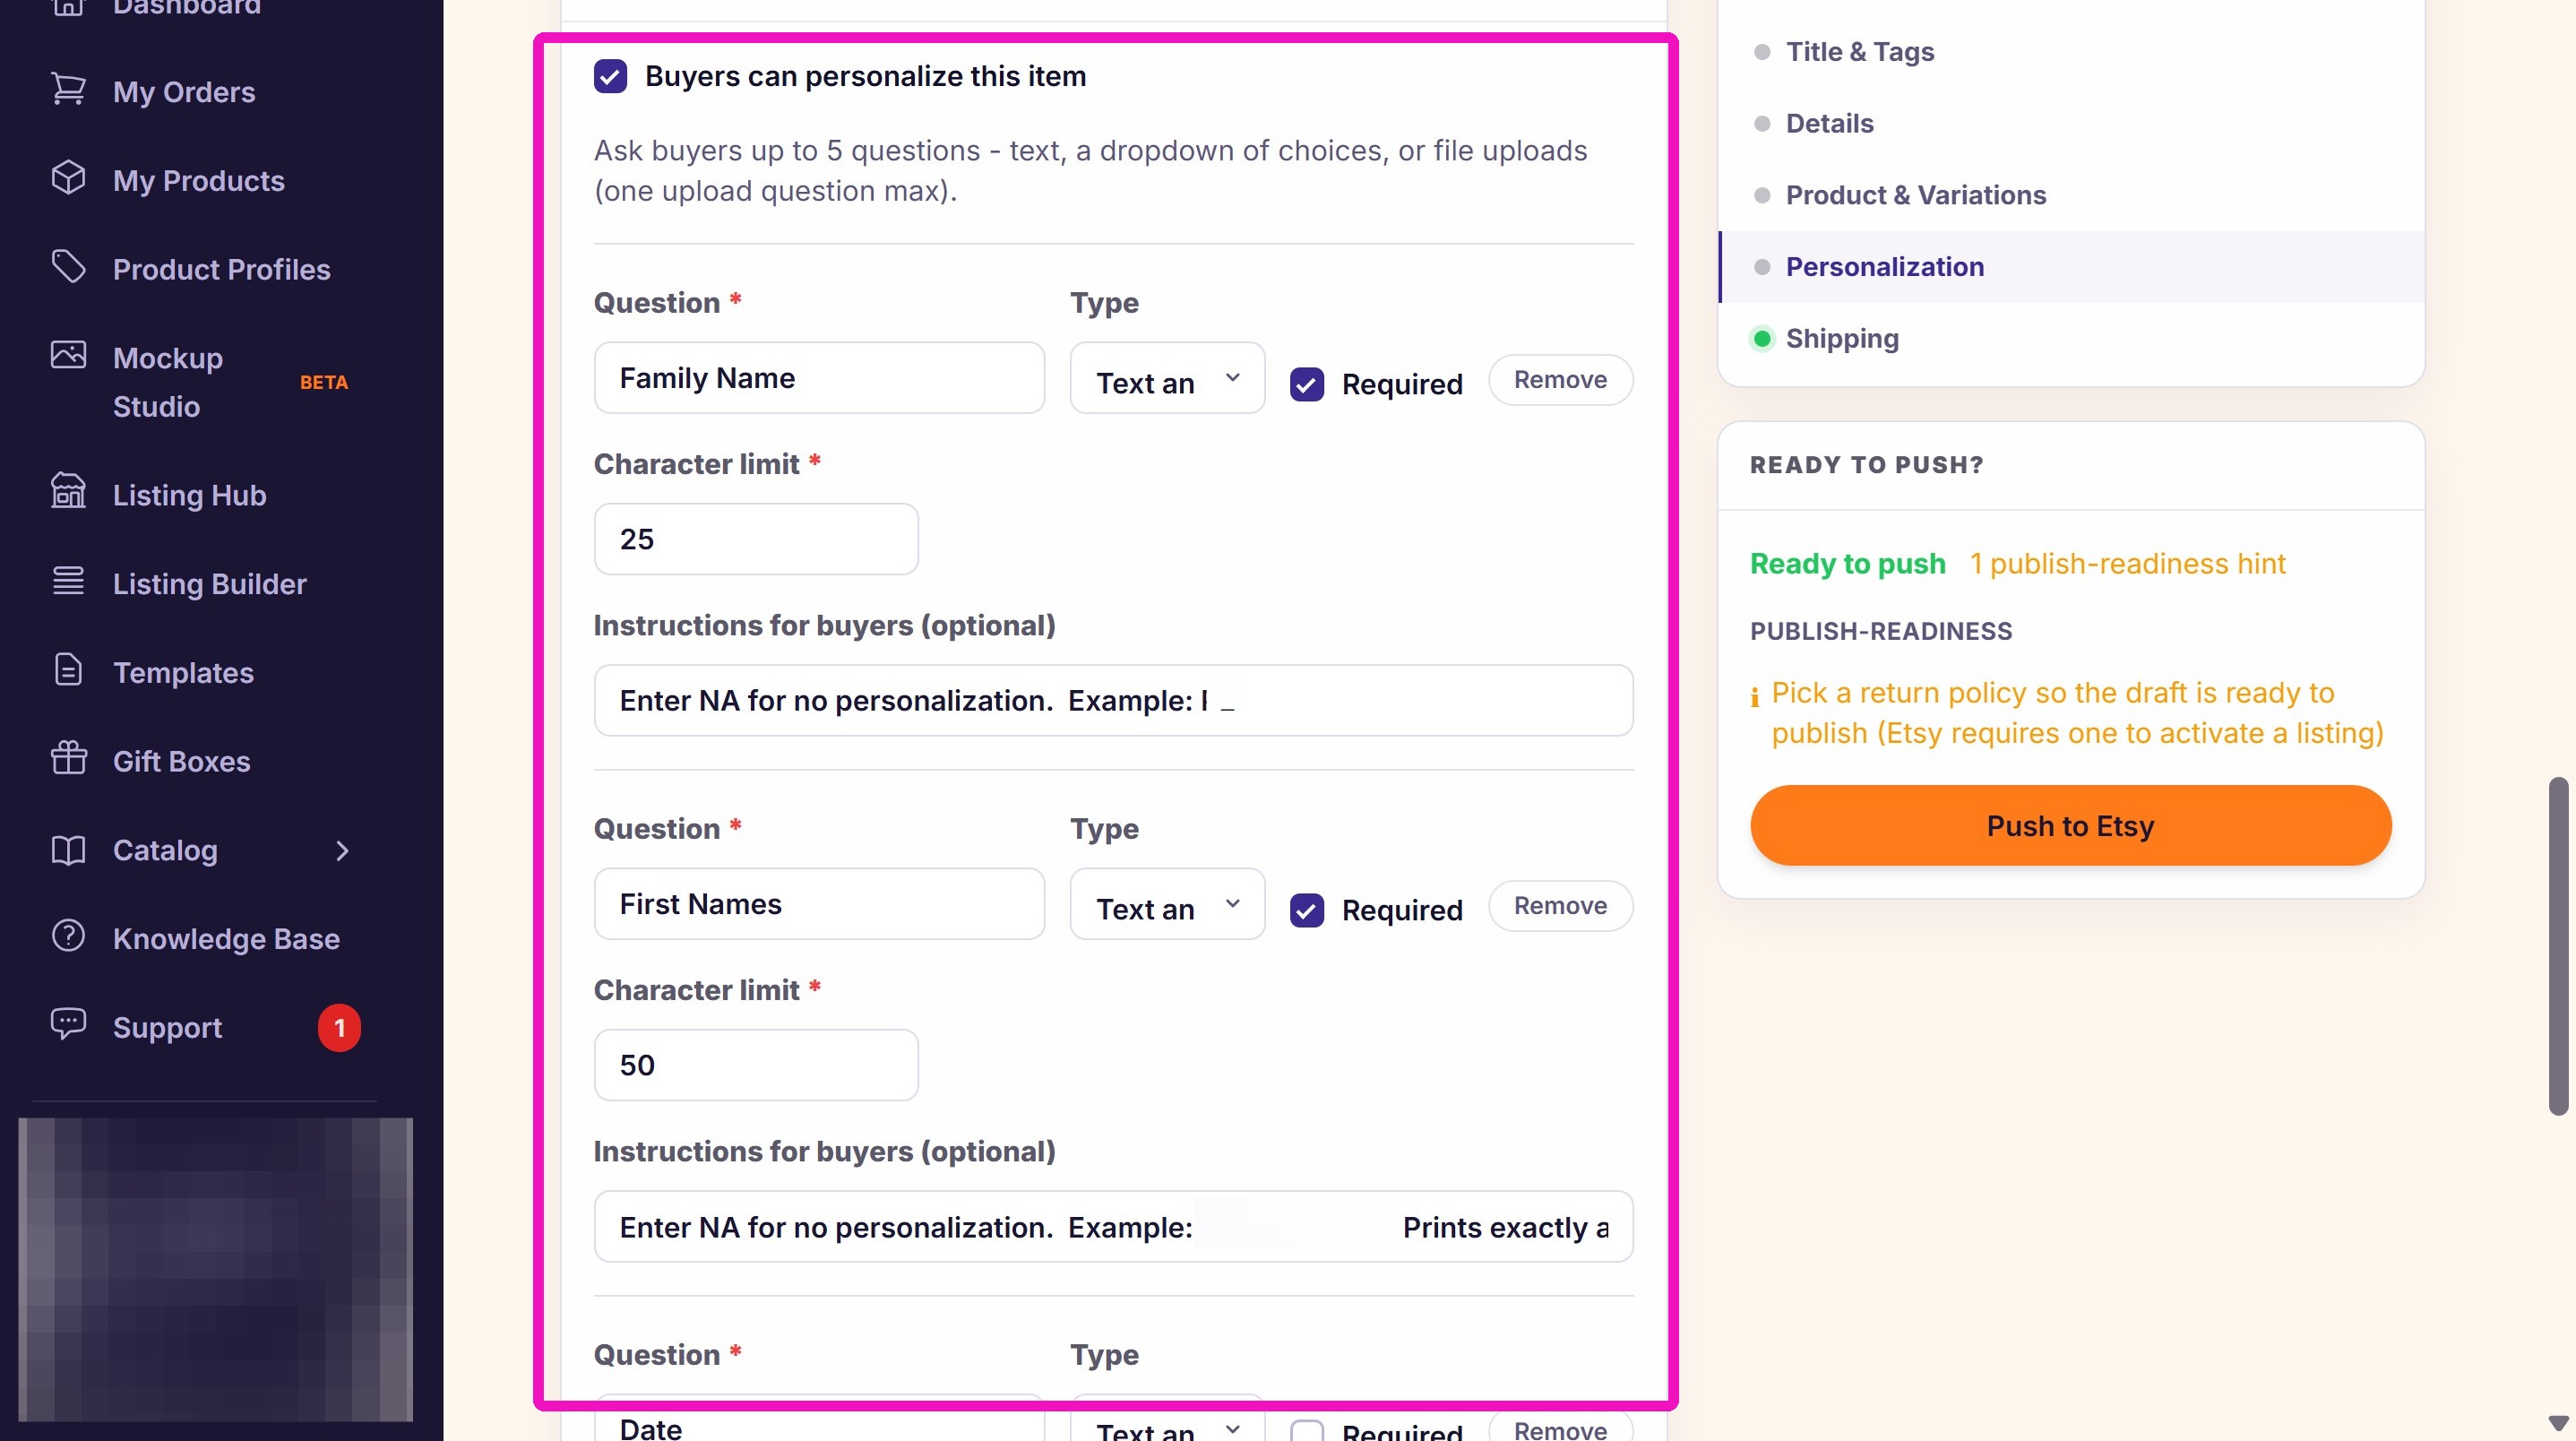
14. Update the personalization questions if you are using them.
NOTE: Skip this step if your product is not personalized.
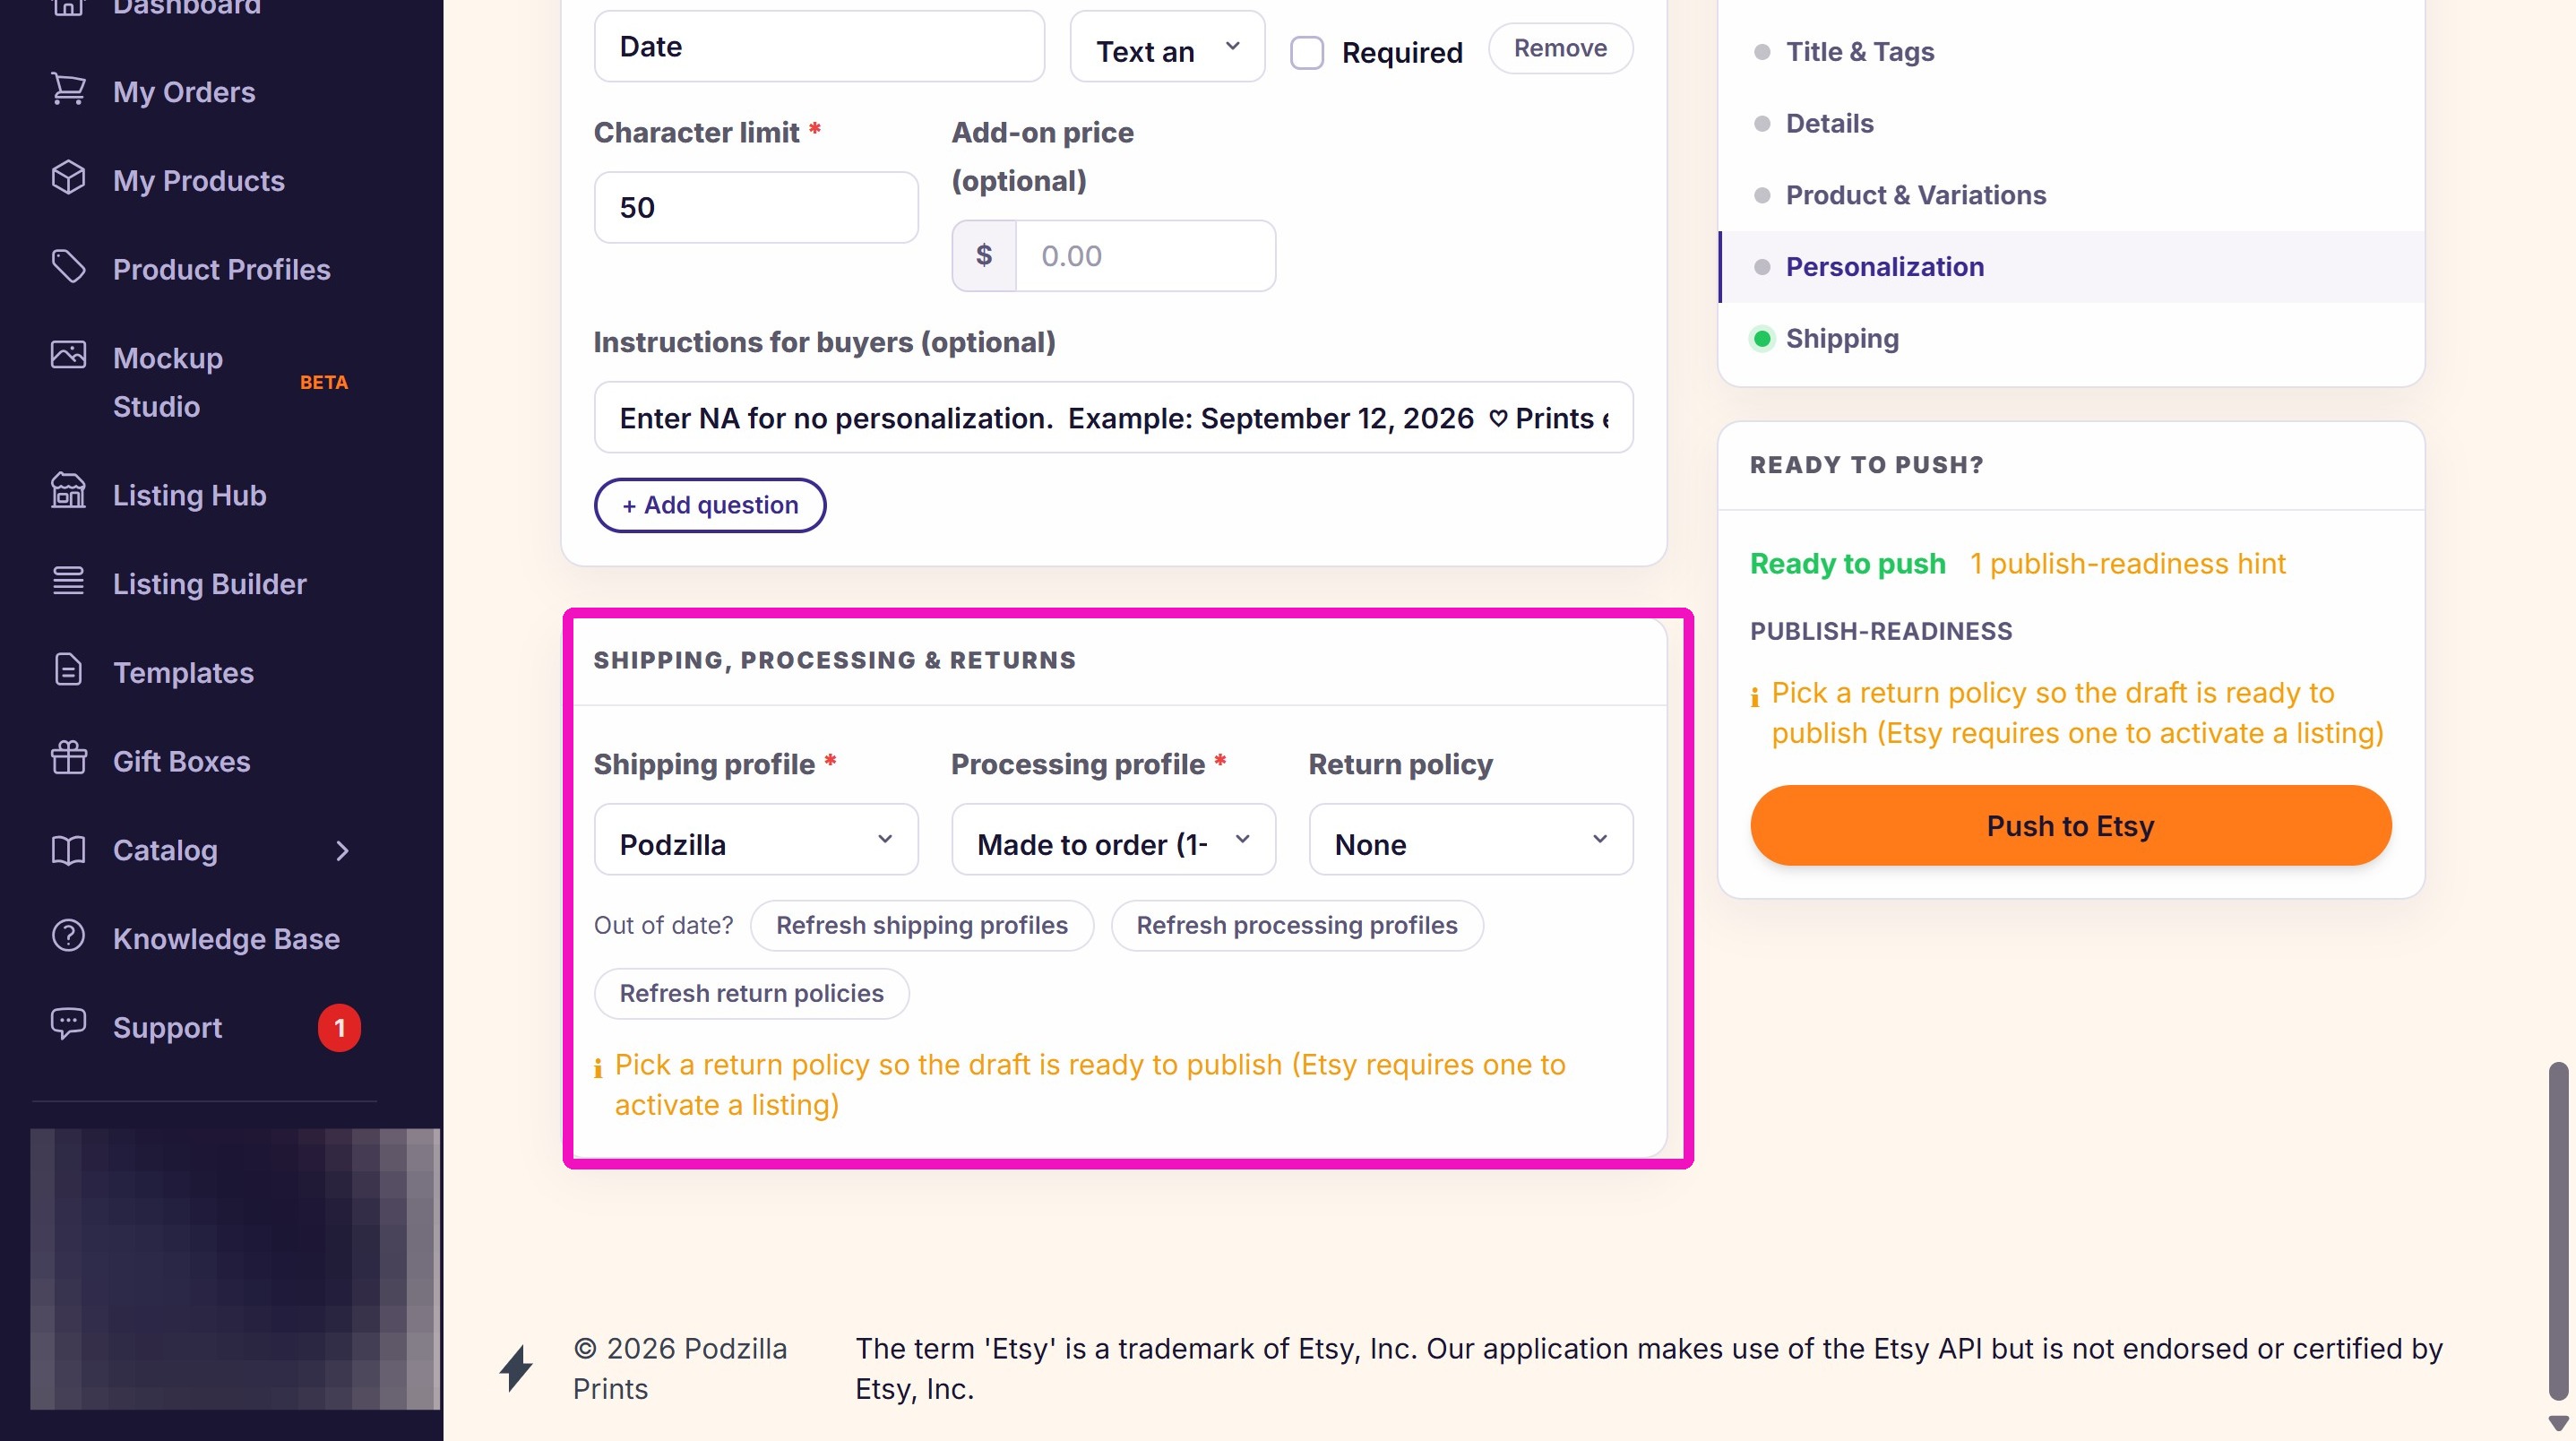
15. Update your shipping information if necessary.
16. Click Push to Etsy once you have all your listing information the way you want it.
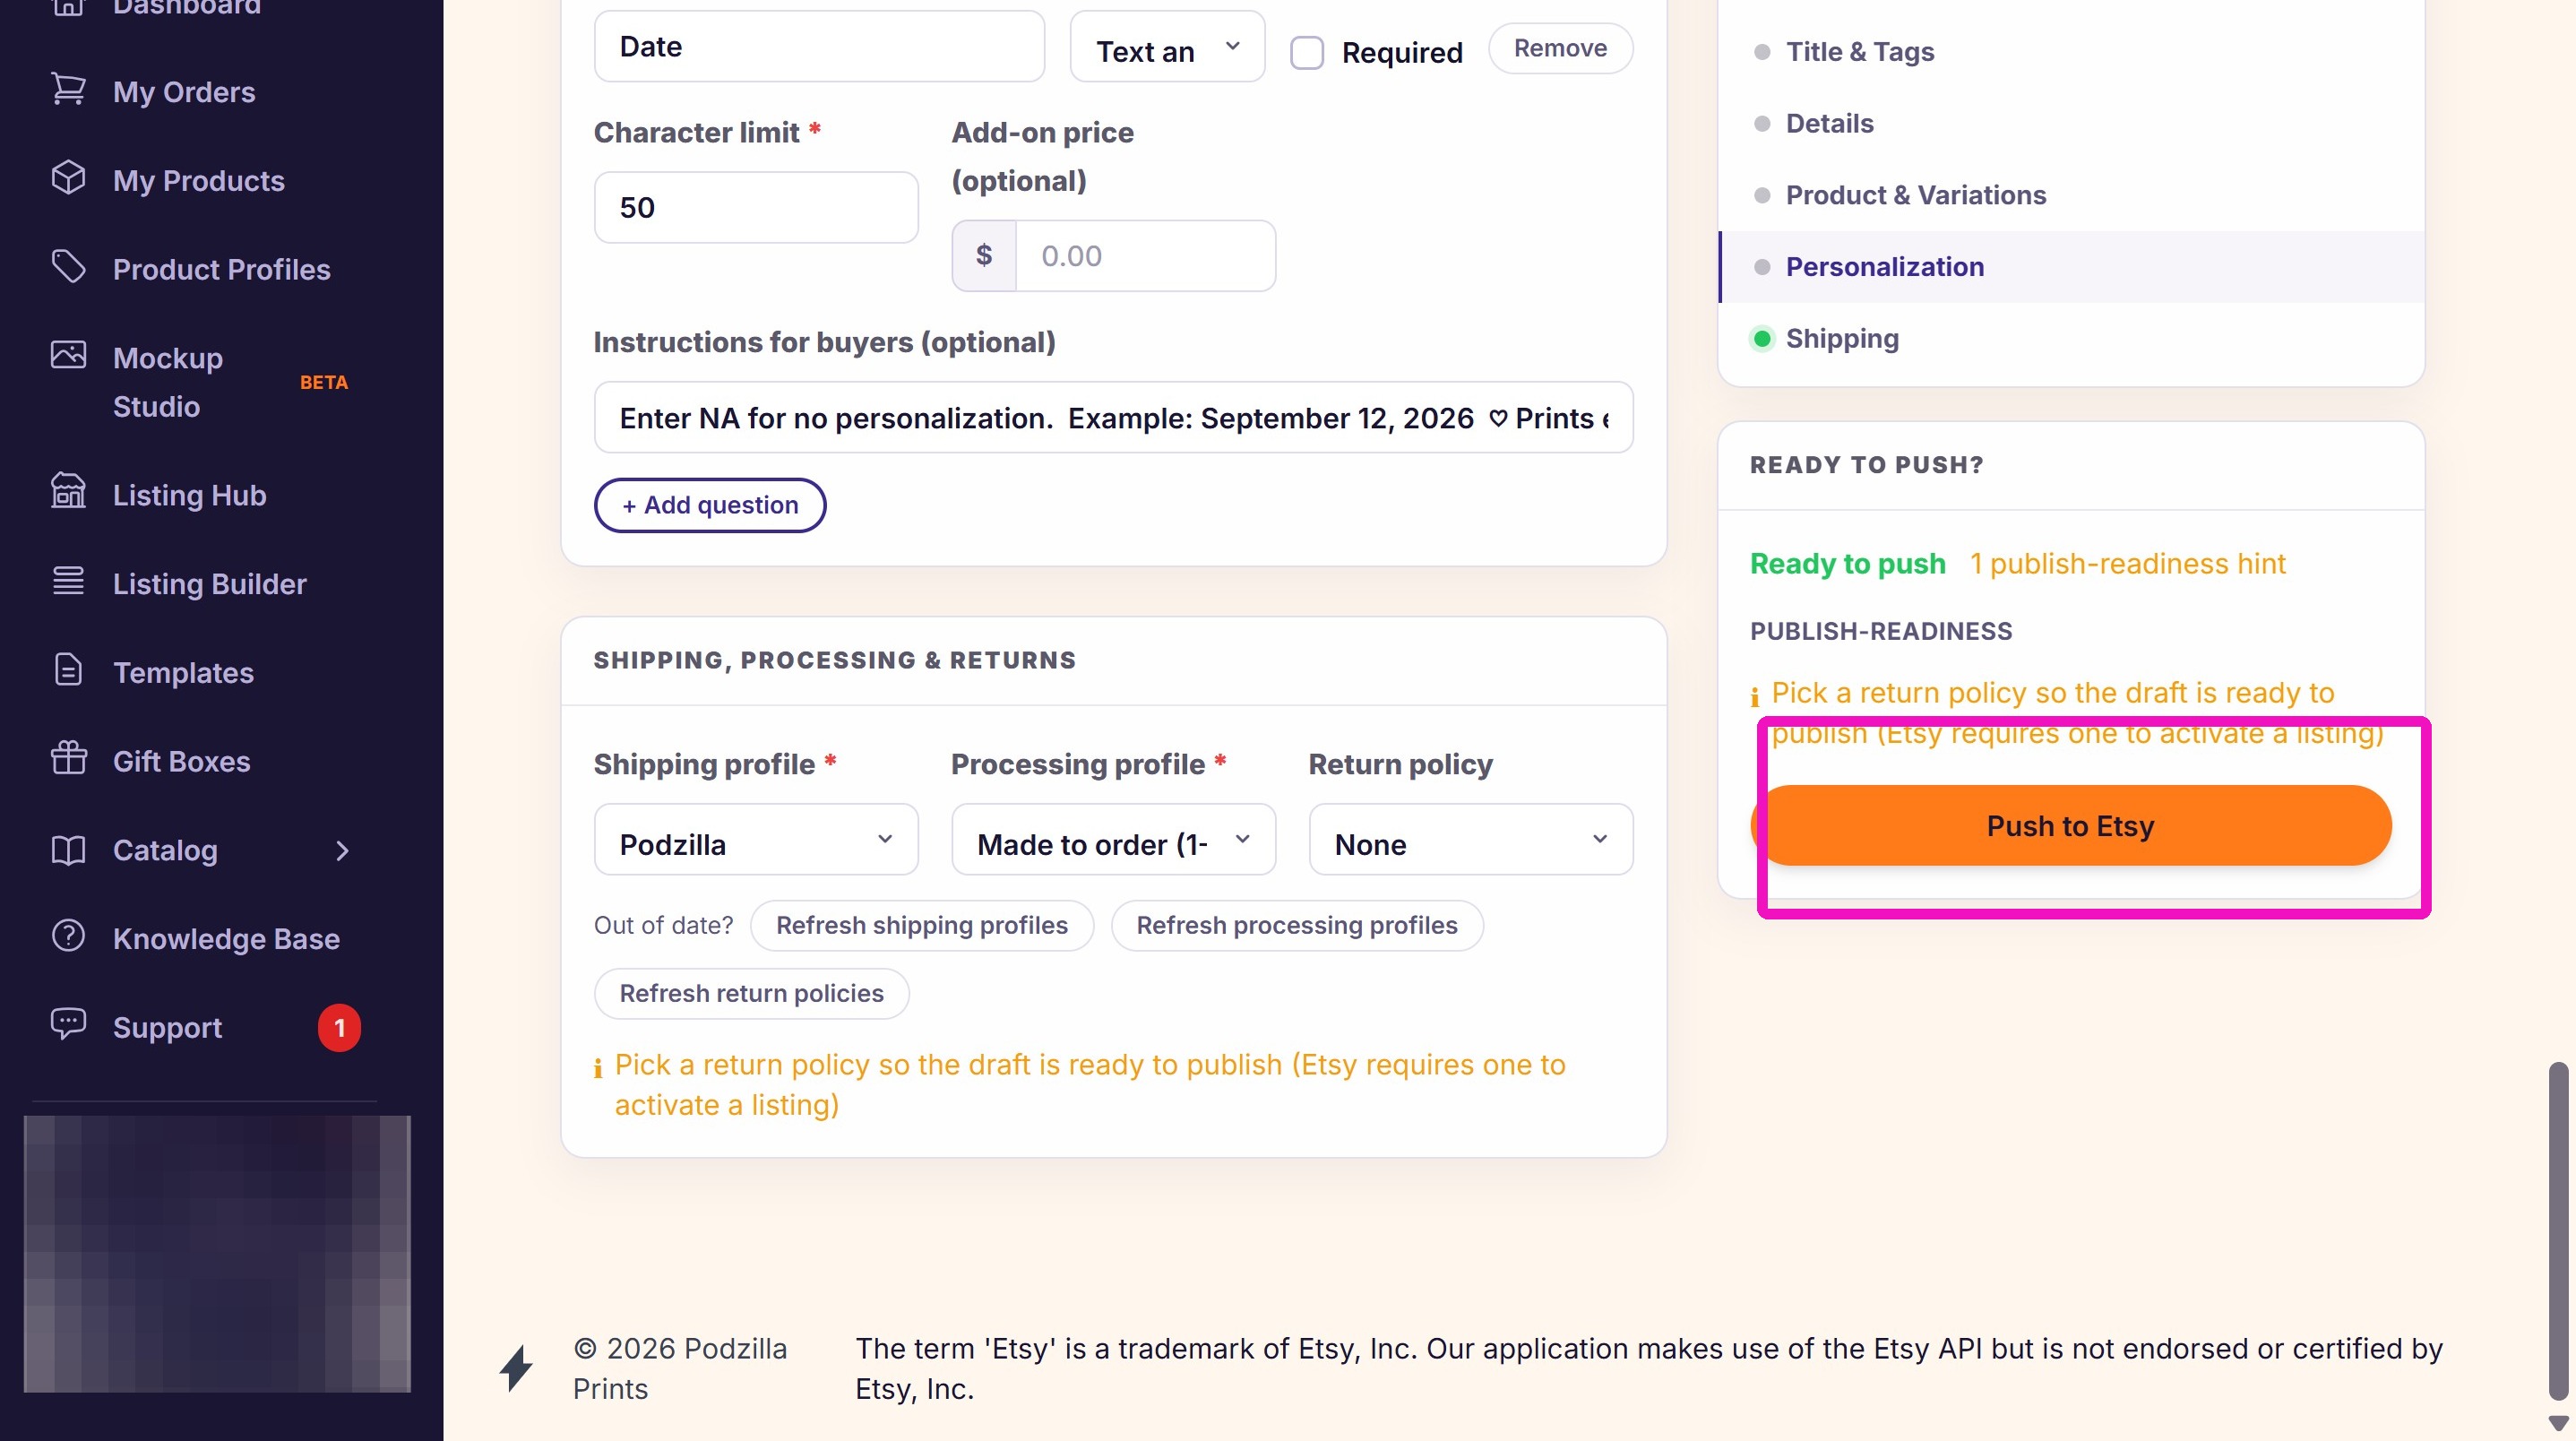
NOTE:
Be sure to open the draft listing in Etsy and double check all your settings before clicking Publish.
Related
More Articles
Getting Started
Welcome to Podzilla! The Podzilla website lets you manage products and orders associated with your shop(s). Let’s get you started.
Apparel Deep Dive: Catalog, Templates, Products & Orders
This guide walks through everything you need to know about working with apparel in Podzilla — from browsing the catalog and using the print template, to setting up products, syncing SKUs, and approving orders. It's based on Valerie's comprehensive video tutorial above, which demonstrates each step on screen.
Saving Sales with Canva Photo Cards
This customer service option has saved many of my sales! It only takes a few minutes, and is well worth it. I've included the instructional video and my script. Be sure you modify it for your brand and voice.
How to Use the 20oz & 40oz Tumblers Design Templates
TRANSCRIPTThis article explains how to use Podzilla’s Canva and Photoshop design templates for ...
Shipping Profile Info
We use USPS Ground Advantage for all standard shipping. If your customers need their orders faster, Express upgrades are available. These use USPS Priority Mail, and pricing is as follows: